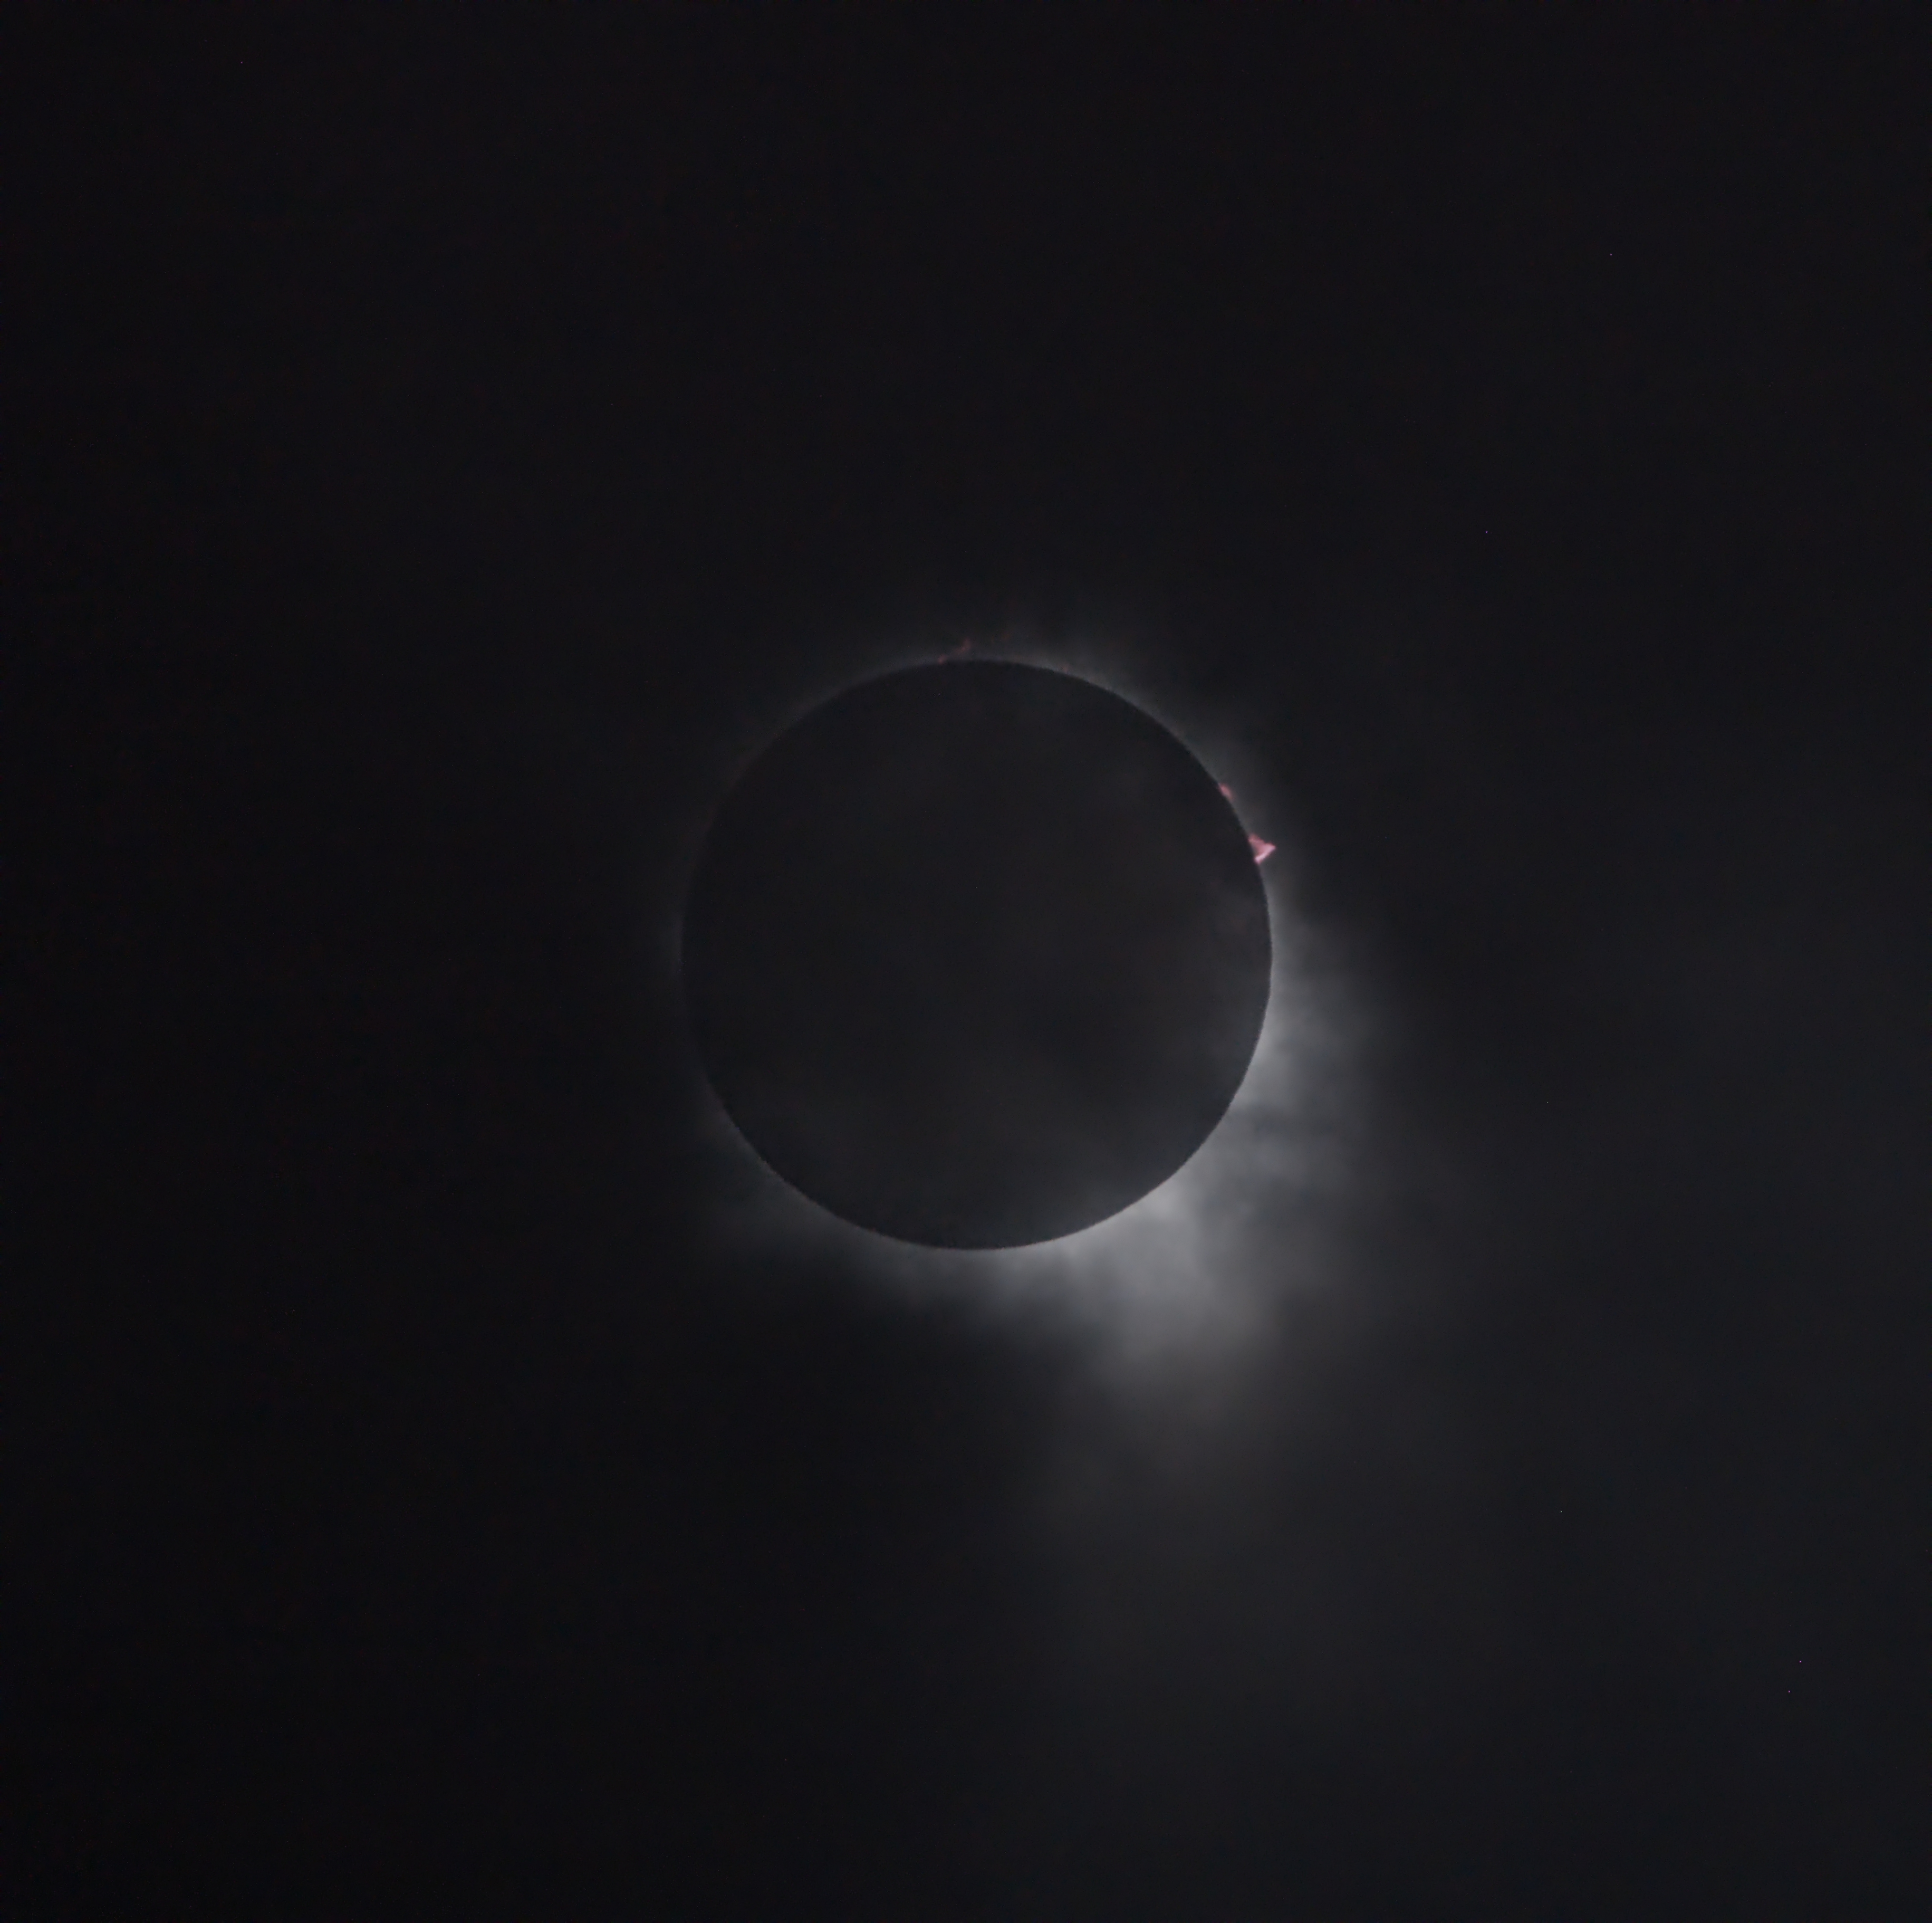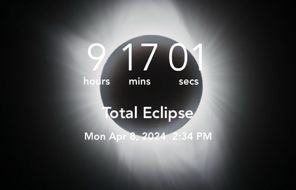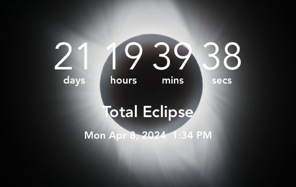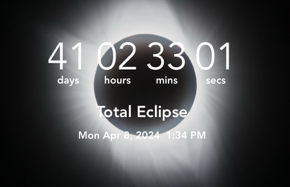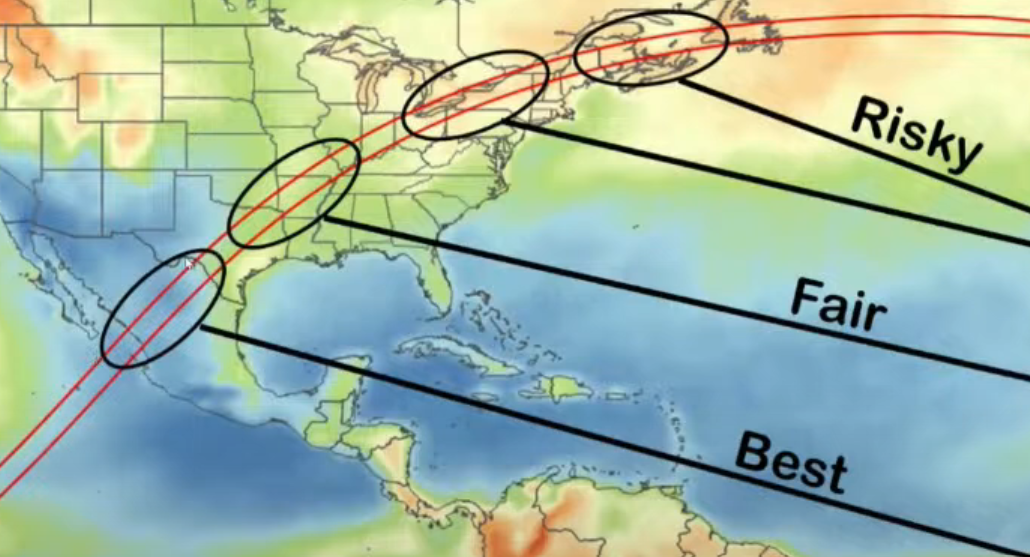
The Great Eclipse of 2024 is now over and it is time to return to Deep Space! We traveled back to the remote observatory in Pie Town NM to install a new camera system in Gamma Complex.
It’s a 4 hour journey into the most remote regions of the Southwest US. It has been about 6 months since I had to make any “service trips” up there.
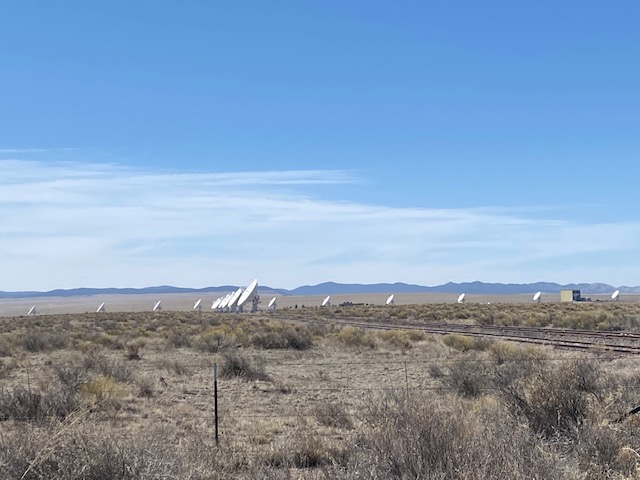
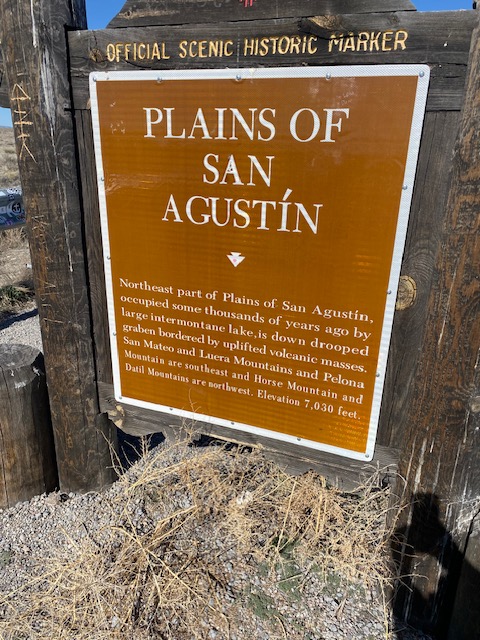
Our travels take us across the San Agustin Plains, an area covering about 55 miles in width. The basin, created by a prehistoric lake, is bounded on all sides by various mountain ranges. One of driest remote places in the continental US, what else would one do out here except study the distant universe? The plains are home to the VLA (very large array), part of the National Radio Astronomy Observatory. Twenty -eight radio dishes each 25 meters in diameter make up the Y-shaped array. Arid climate is absolutely essential as water molecules will cause significant aberrations in radio signal.

Another 60 miles west and we have arrived at our destination, SkyPi Remote Observatory, founded in 2012. The observatory complex is home currently to 5 roll-offs containing 8 telescope piers. They are named Alpha, Beta, Gamma, Delta and Omega (the owner has an aerospace background!). My equipment resides in Delta and Gamma. A 4-pier roll-off expansion is planned for the coming year.
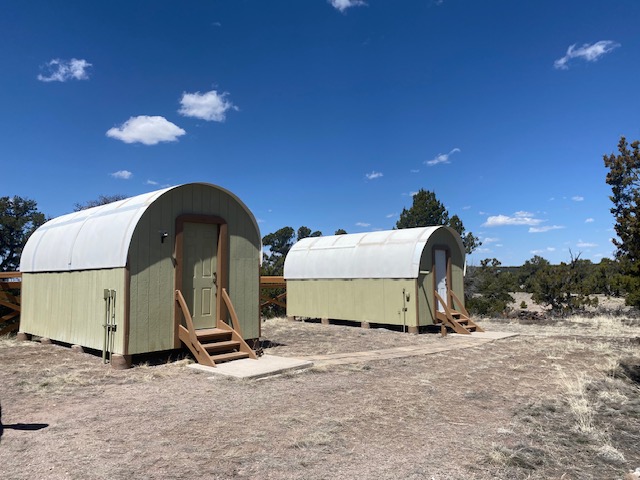
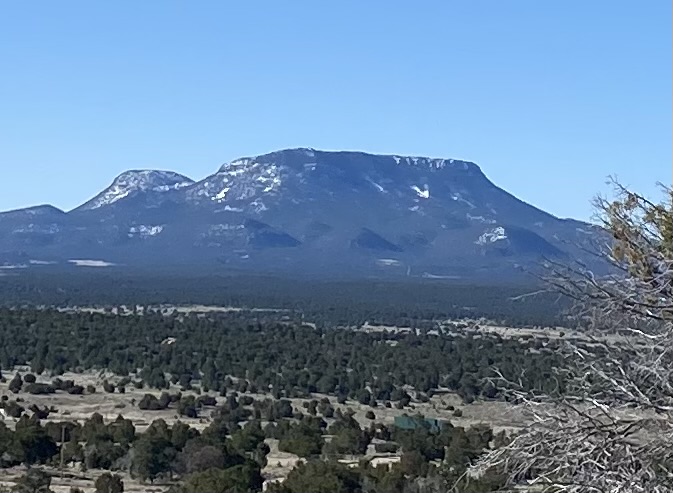
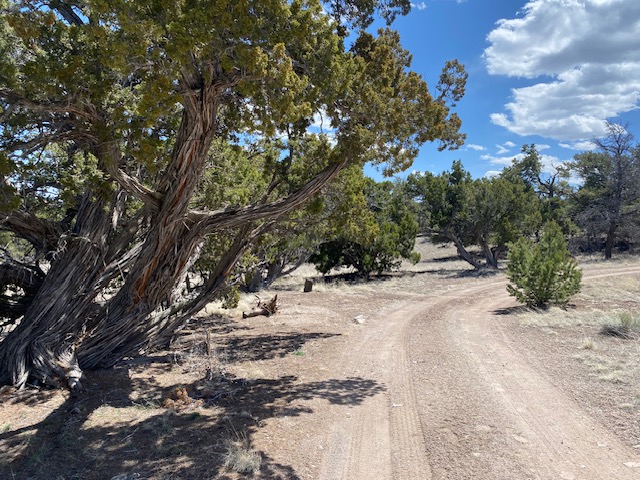
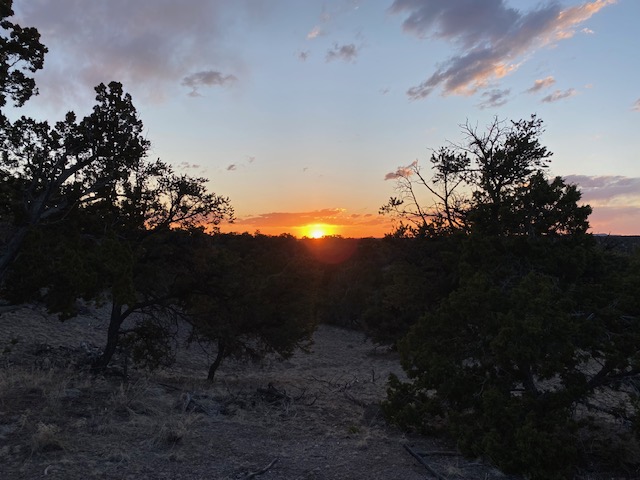
Outside of the observatories, it’s just you, the Pinyon trees and the Universe!
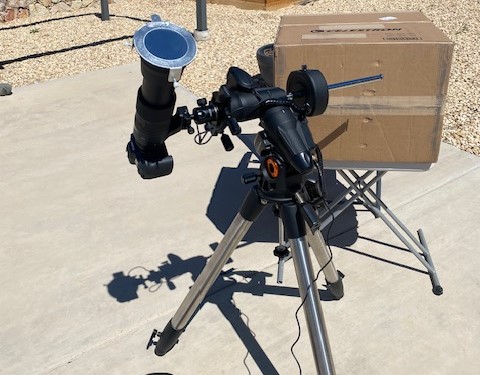
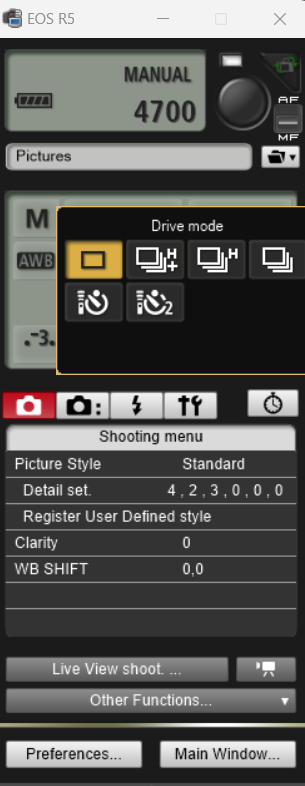
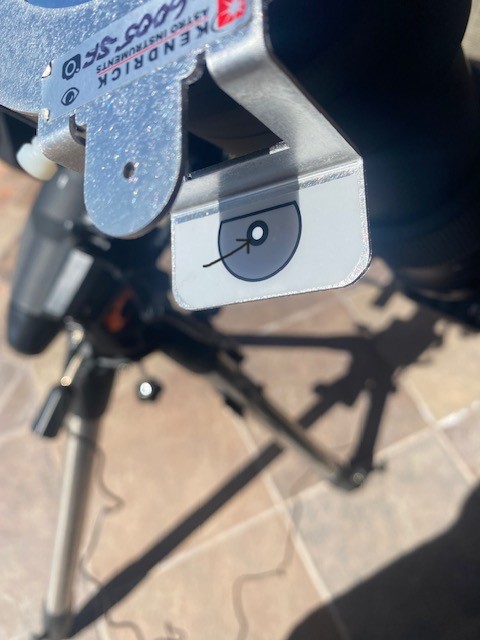
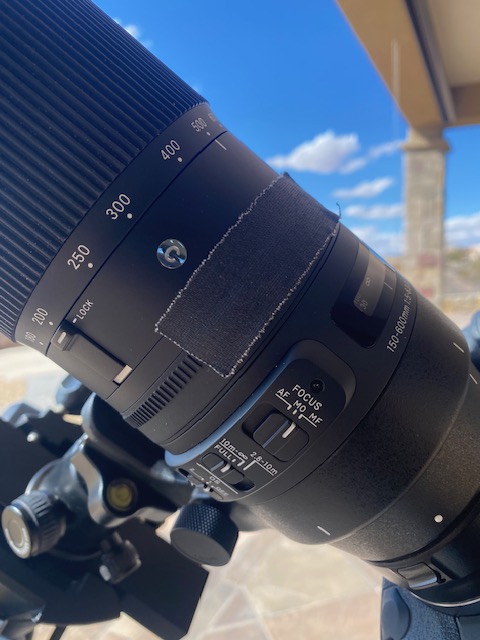
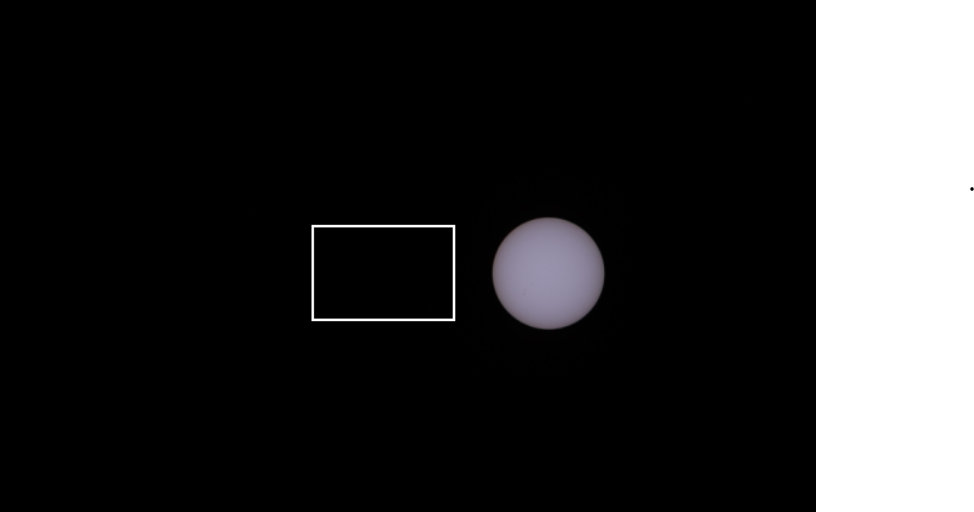
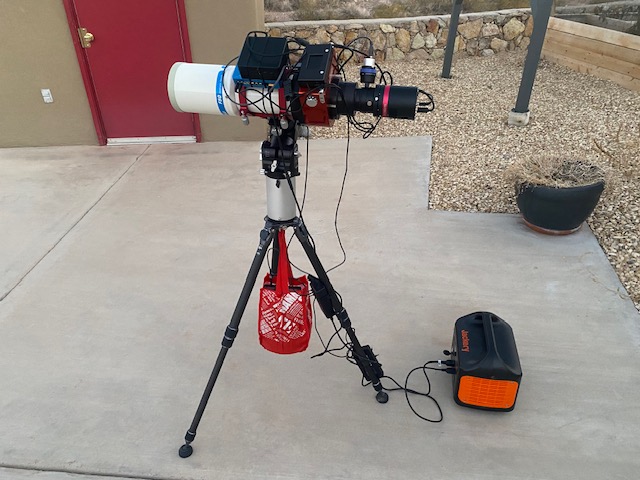
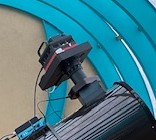
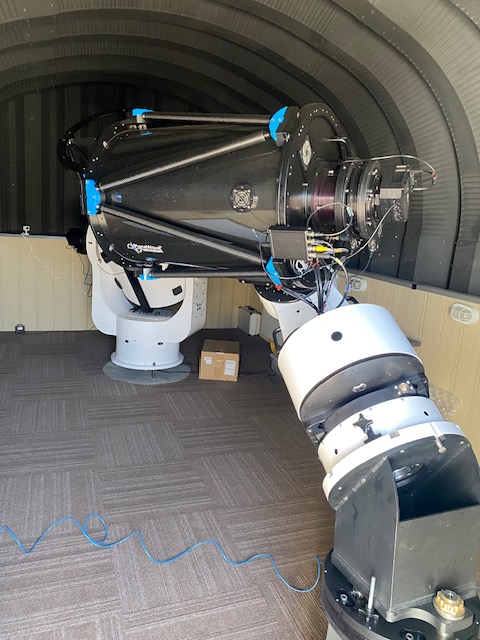
And now back to business here, the purpose of this trip is to replace our “old” CCD camera with a new CMOS version.

We have discussed the whole camera technology changing over from CCD to CMOS in previous posts, but just to review, CCD (charge coupled device) and CMOS (complementary metal oxide semiconductor) image sensors are two different technologies for capturing images digitally. Both types of imagers convert light into electric charge and process it into electronic signals. CCDs and CMOS imagers were both invented in the late 1960s and 1970s. CCD became dominant initially, primarily because they gave far superior images with the fabrication technology available at the time.
However, with the promise of lower power consumption and higher integration for smaller components, CMOS designers focused efforts on imagers for mobile phones, the highest volume image sensor application in the world. This is what changed everything as the CCD market was quite narrow and limited to astroimaging and other science applications while CMOS technology could be applied to a huge global consumer market including smartphones, webcams, video surveillance etc. The CCD phase-out was thus inevitable.
An enormous amount of investment was made to develop and fine tune CMOS imagers and the fabrication processes that manufacture them. As a result of this investment, we witnessed great improvements in image quality, even as pixel sizes shrank and at this time, based on almost every performance parameter imaginable, CMOS imagers now outperform CCDs. As I commented before, this is one instance where cheaper IS actually better! Contemporary CMOS astroimaging cameras typically cost at least 50% less than their CCD predecessors.
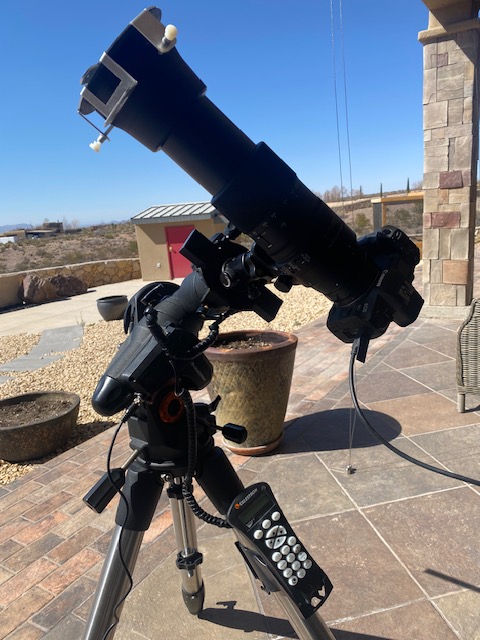
Replacing a camera system involves several steps including rebalancing the optical system, especially in this case as I had to remove a 40 pound counterweight after the install! Then the mount has to “relearn” how to point to objects in the sky after the weight and balance has changed. Finally a new “profile” has to be created in the control software to include the new camera and guider specs and the new image scale as the new sensors have different dimensions and pixel sizes.
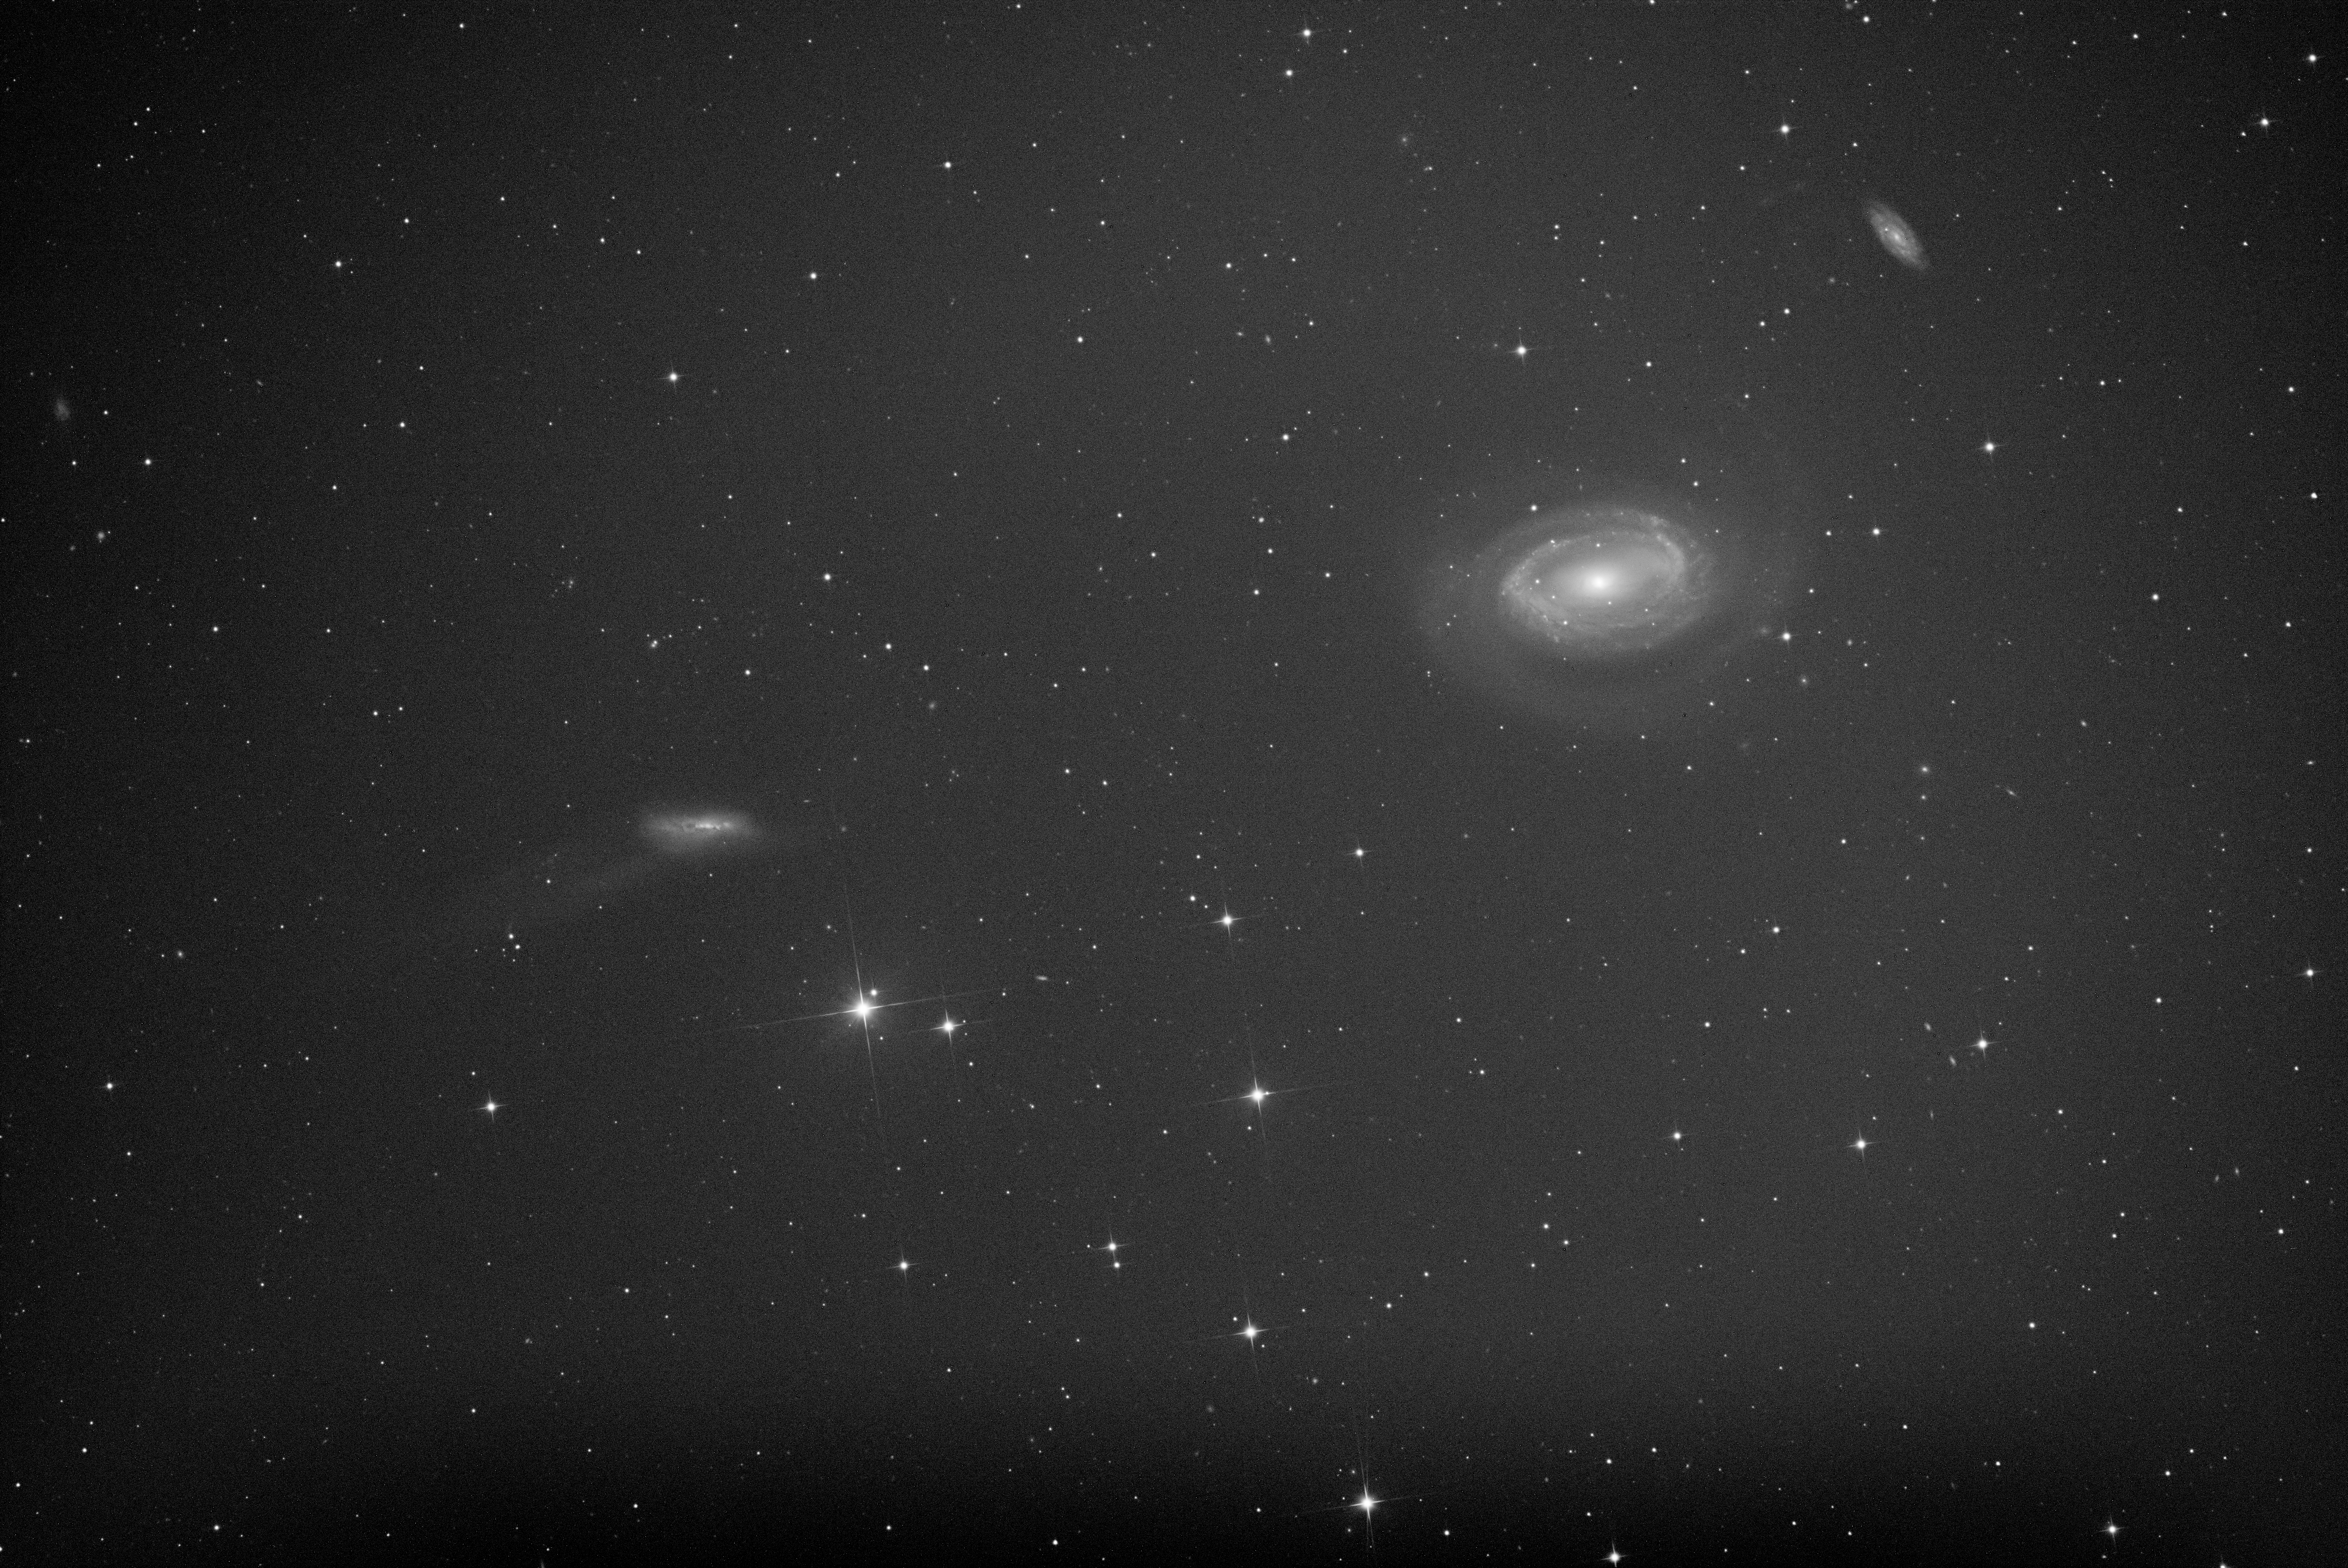

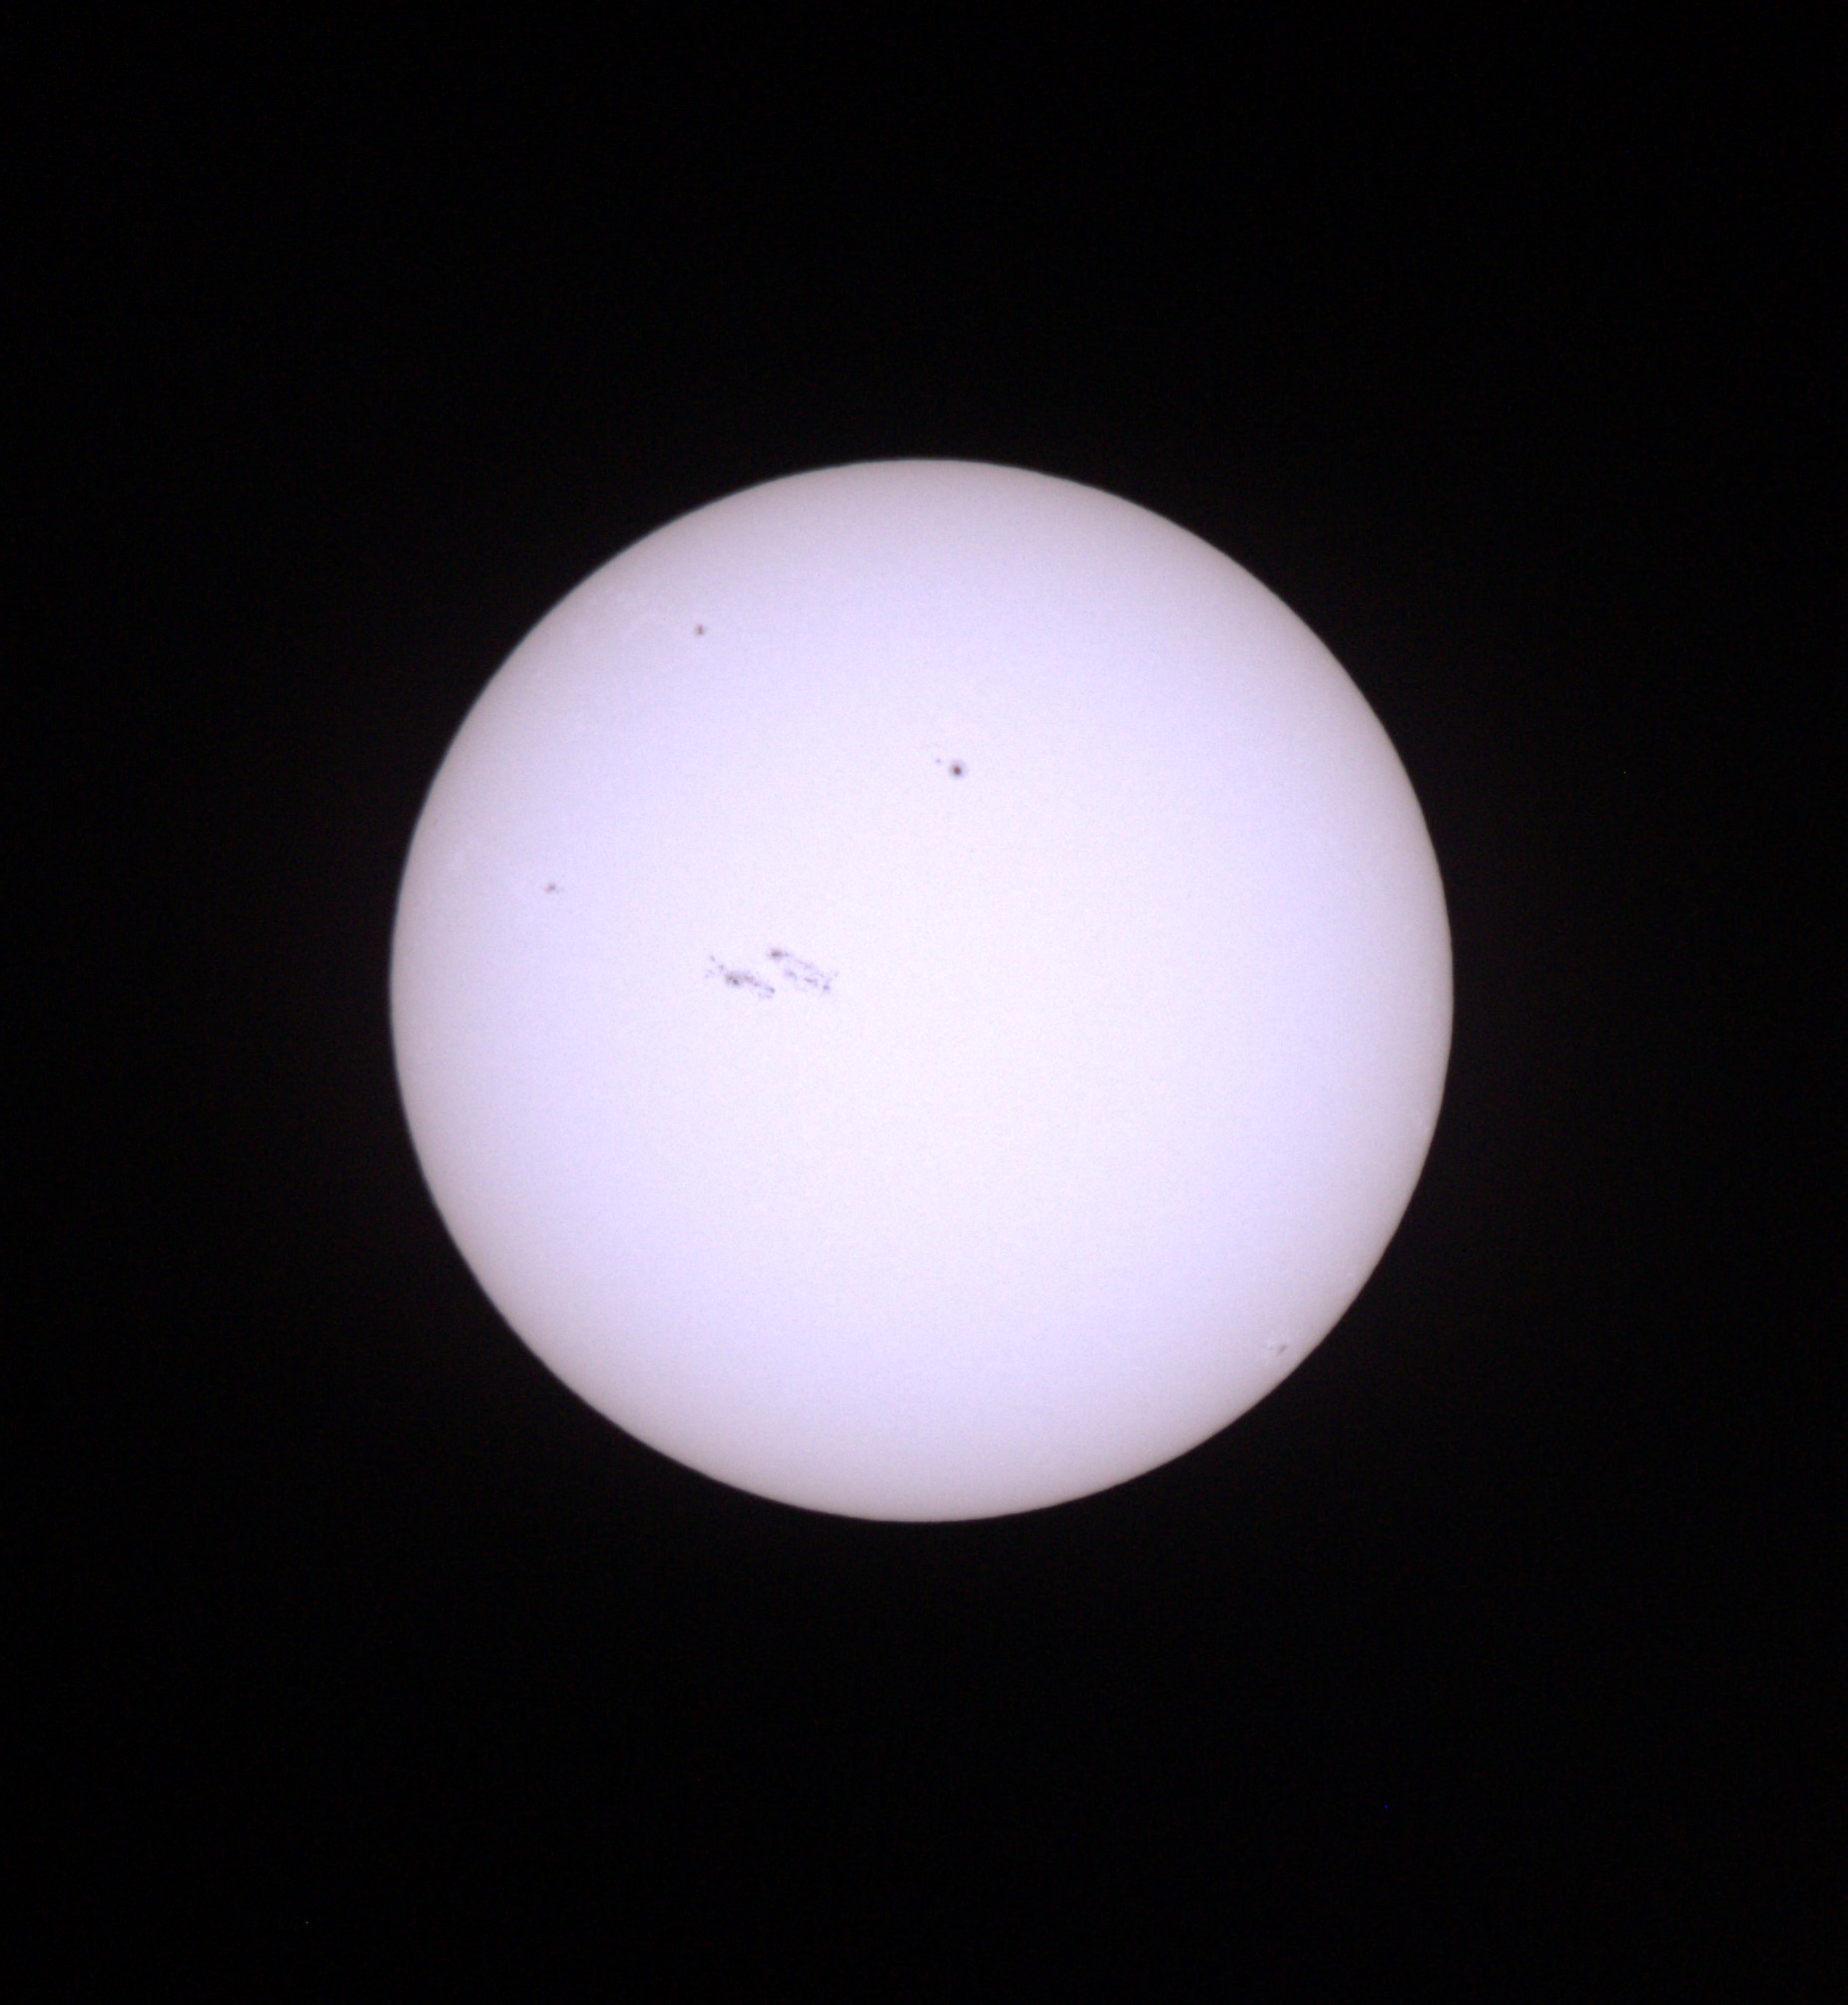
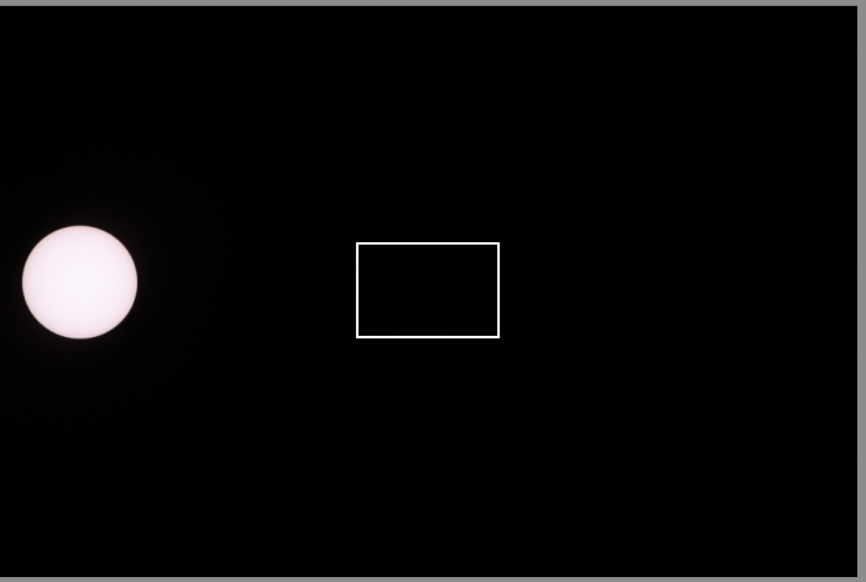
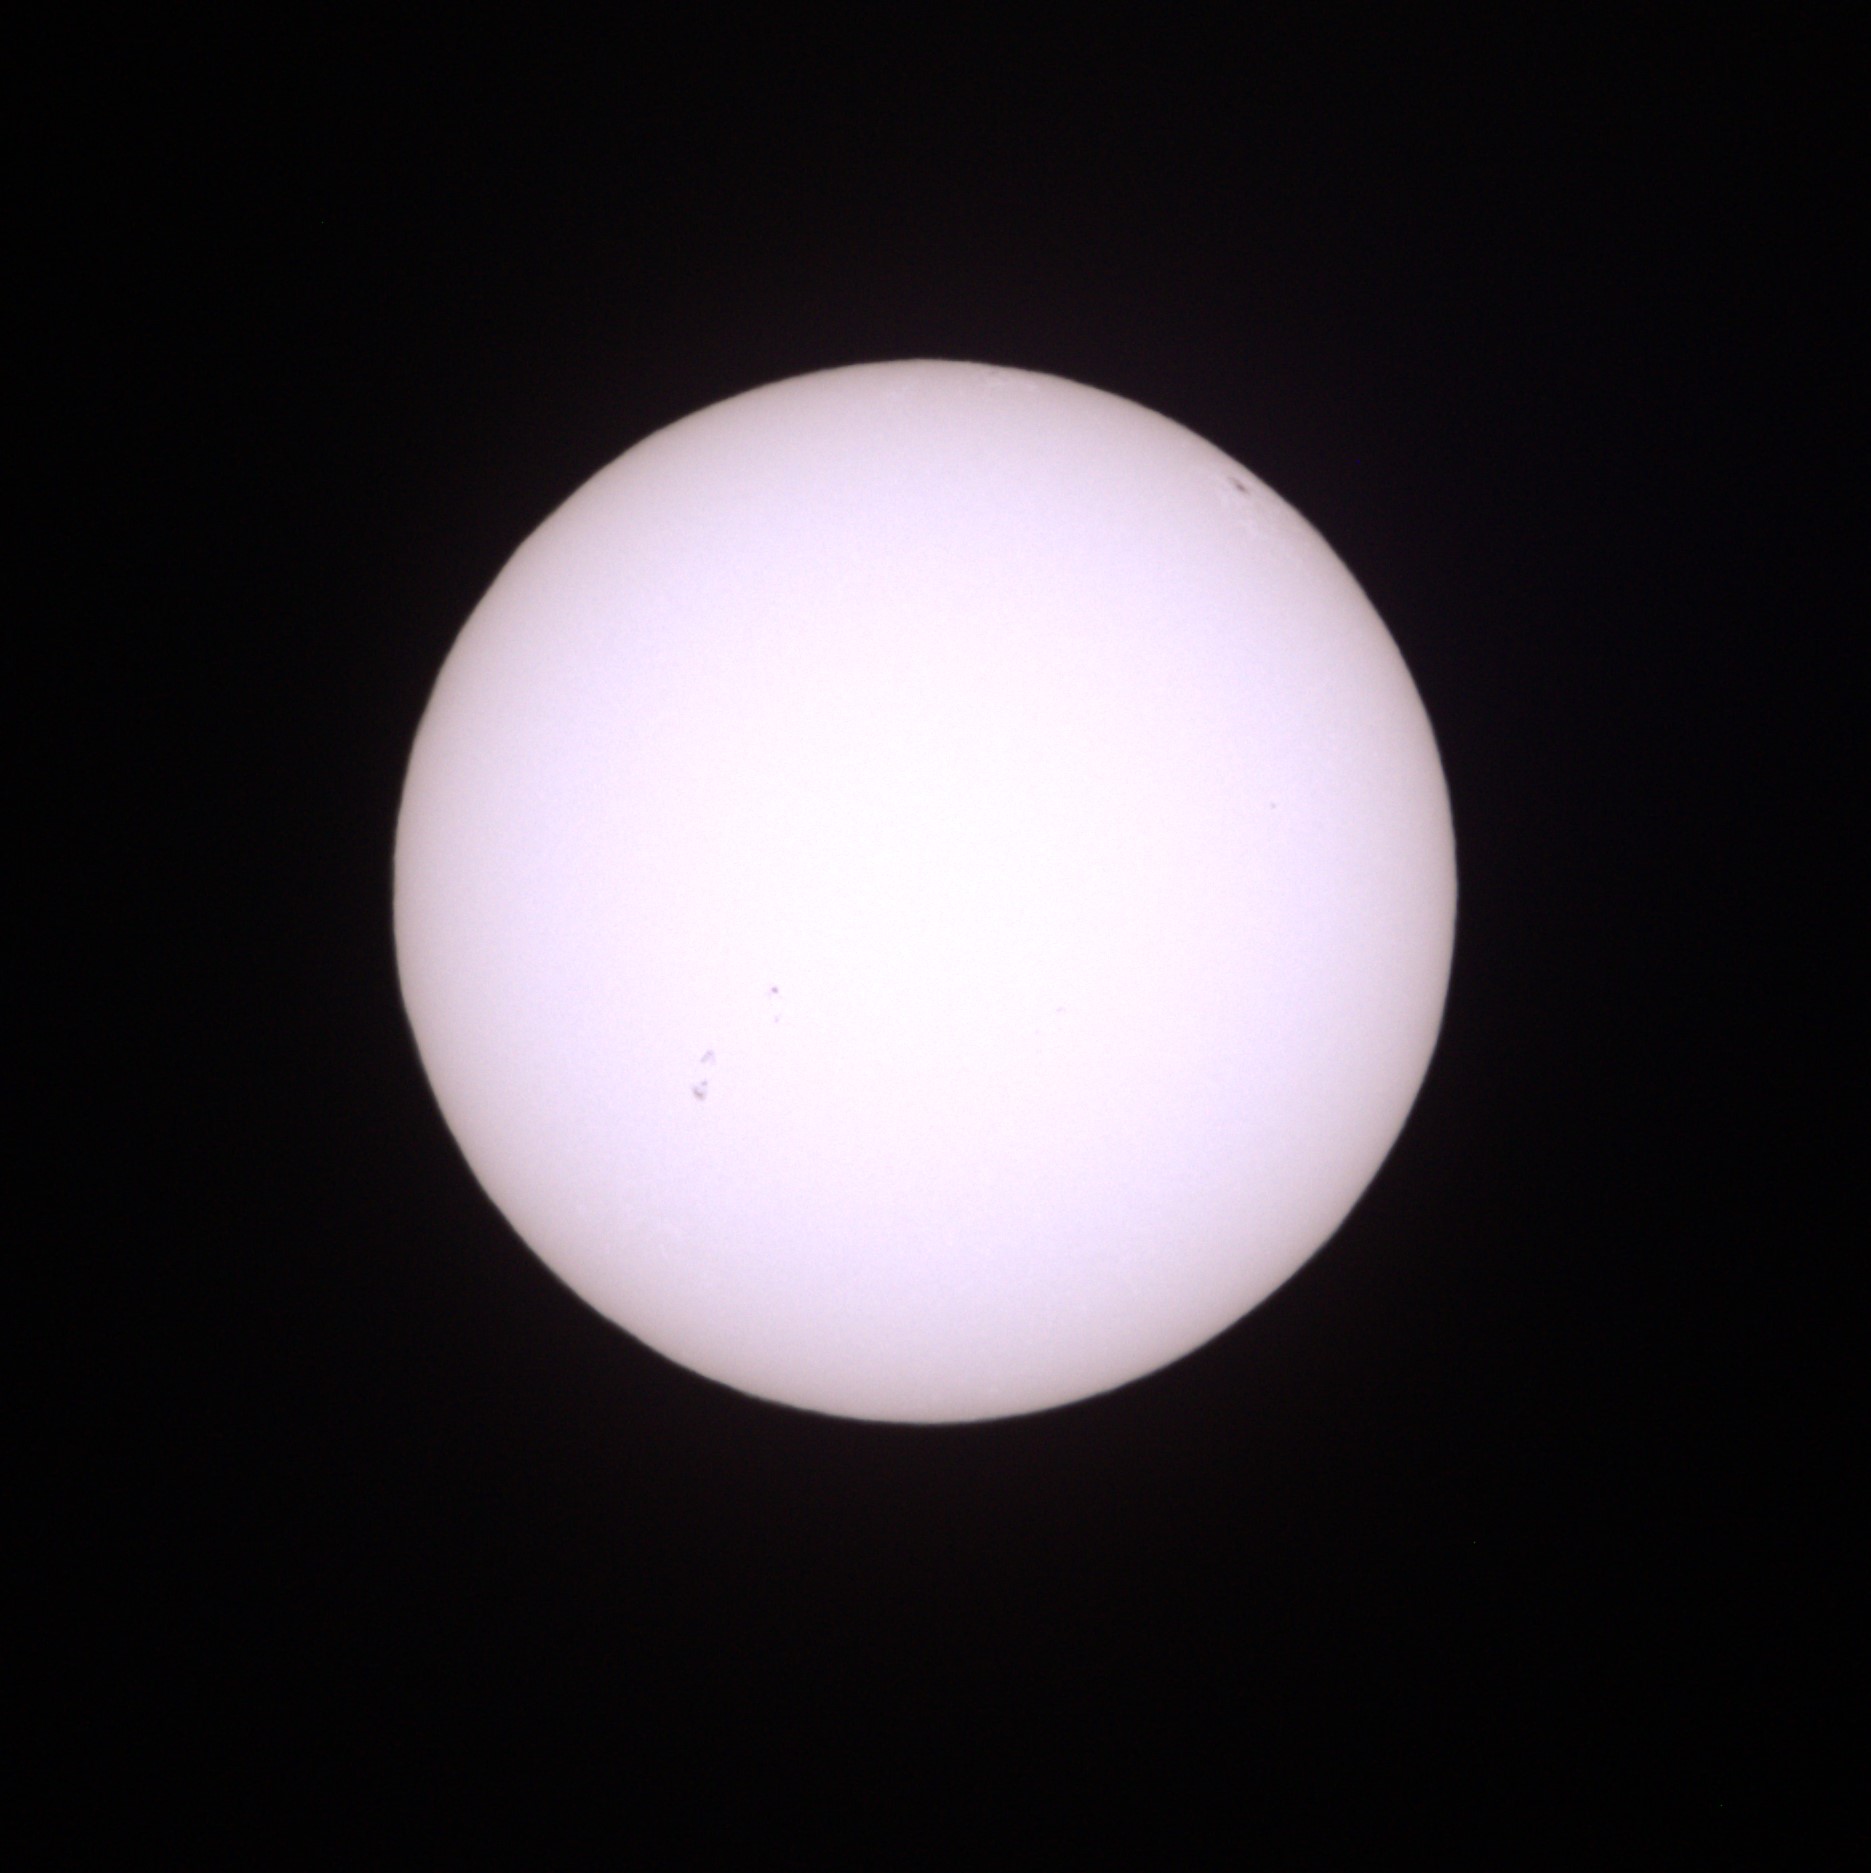
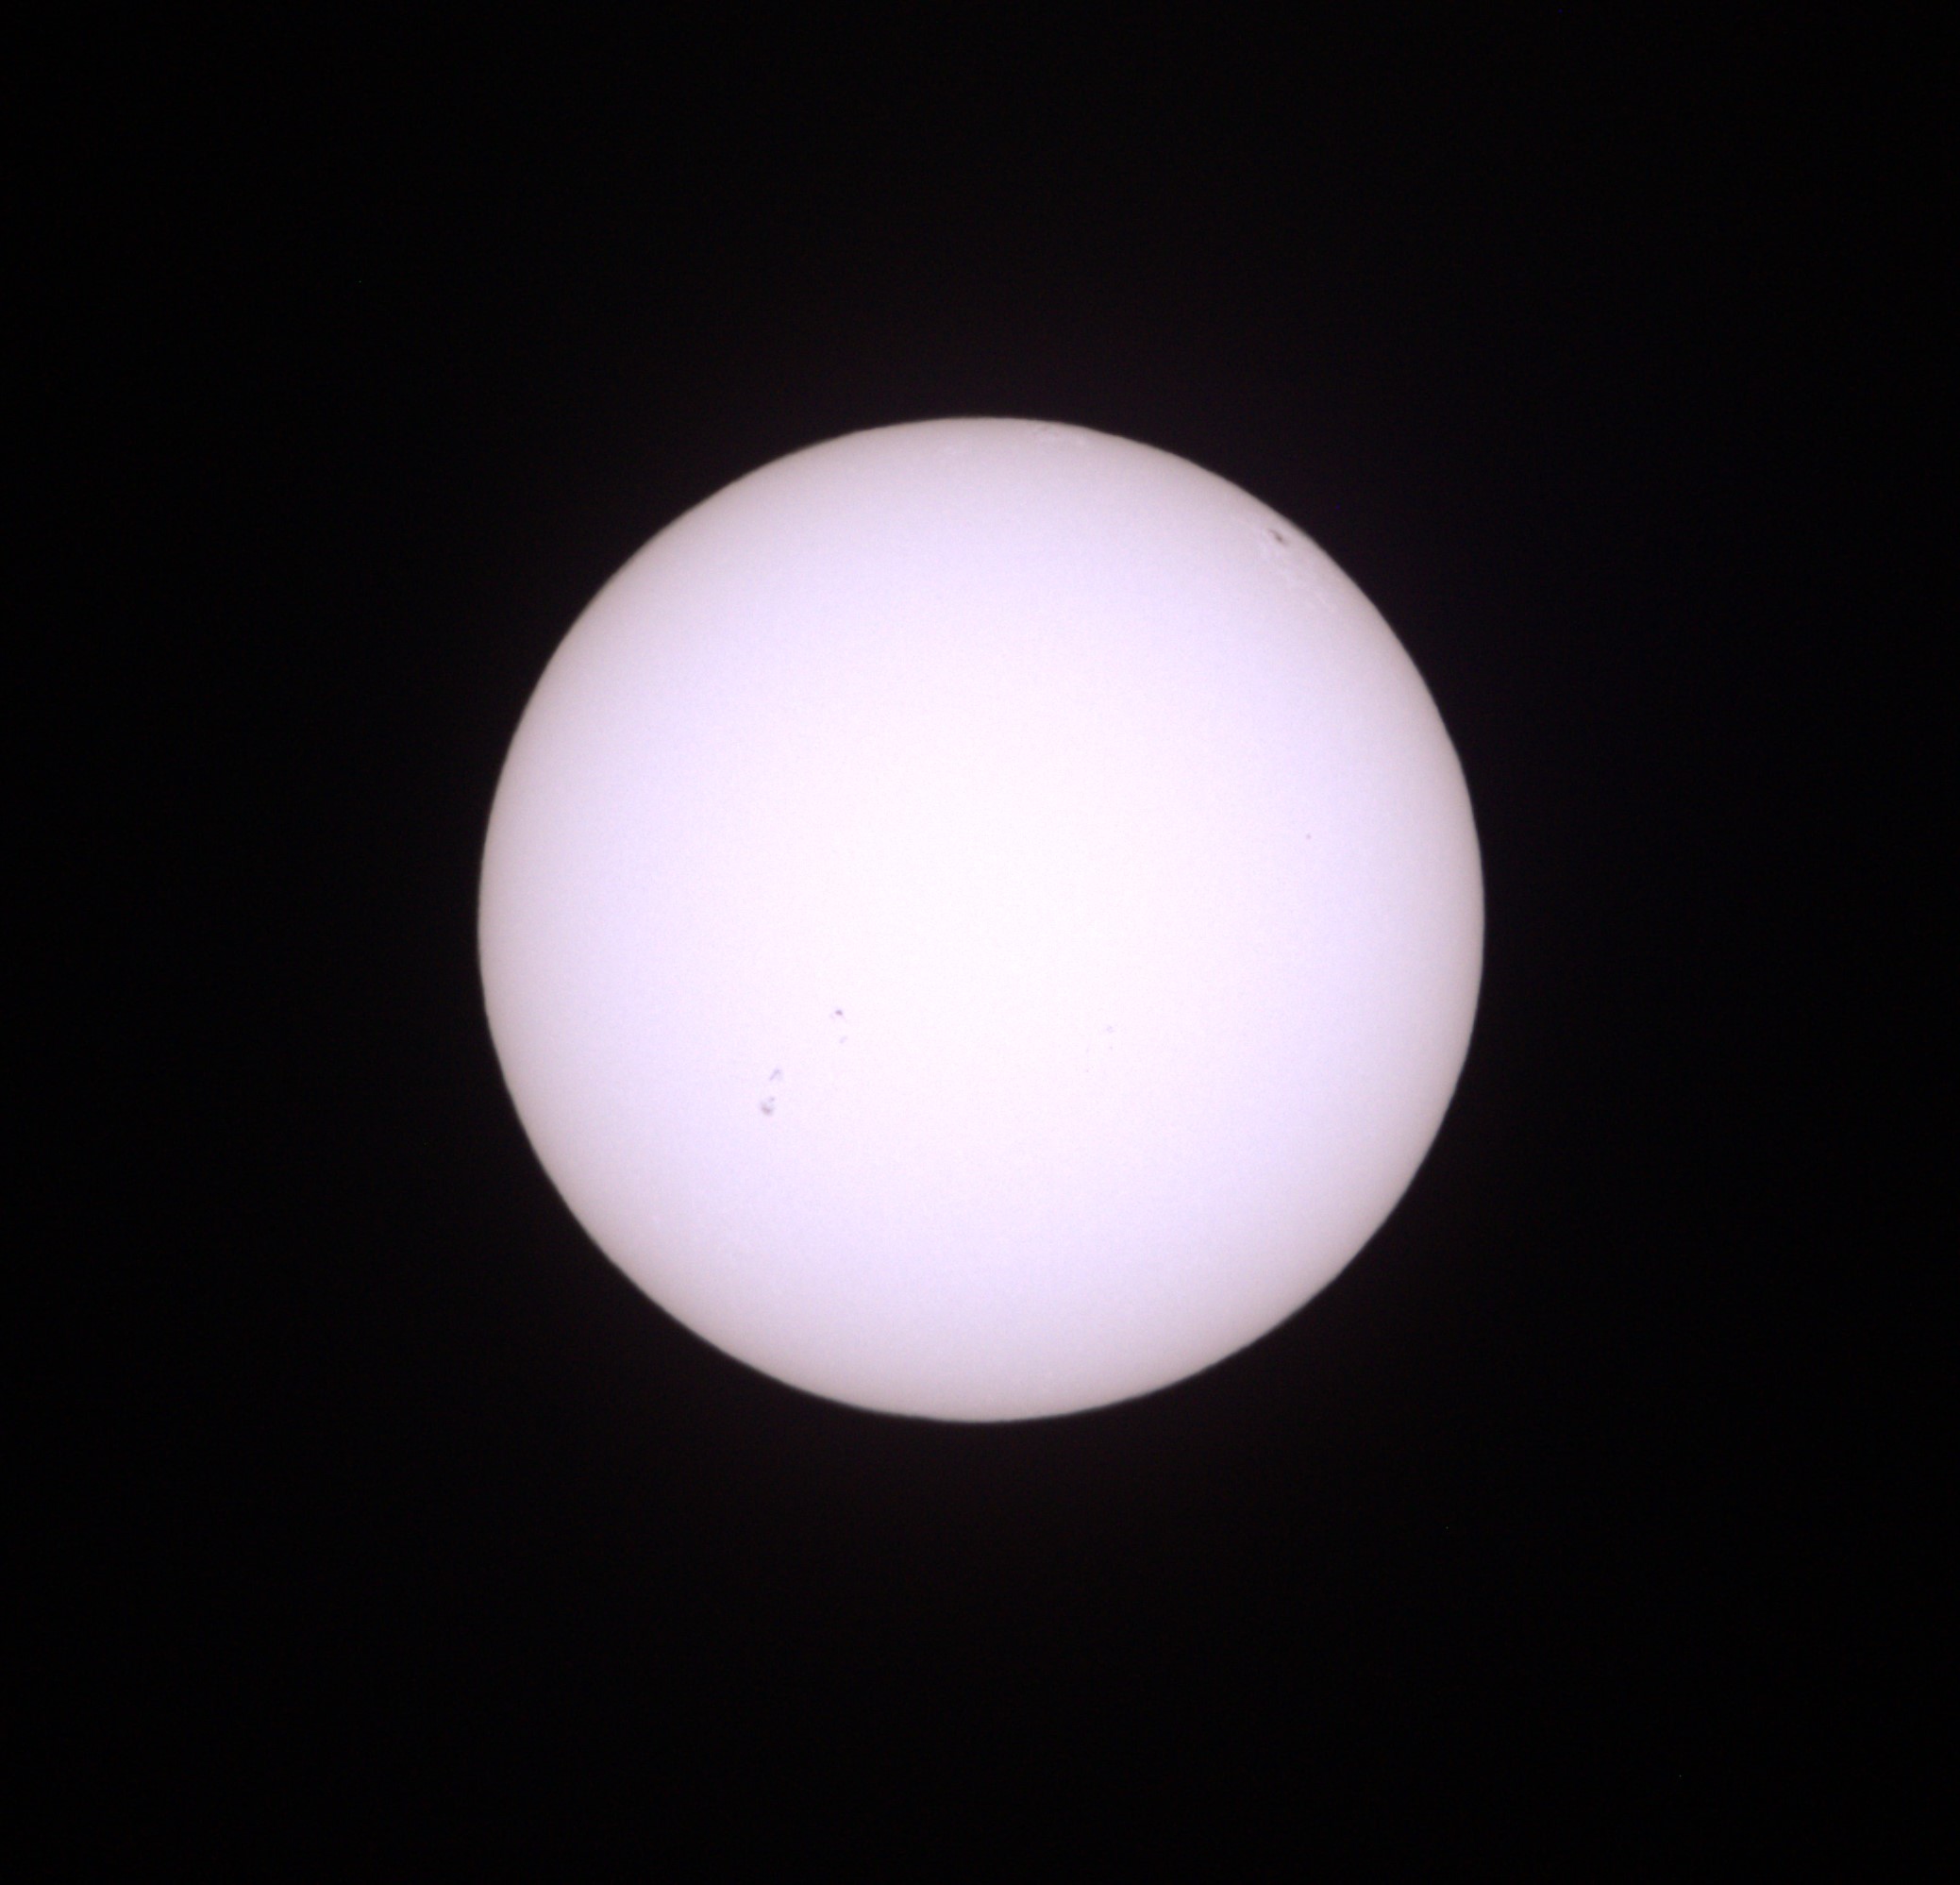
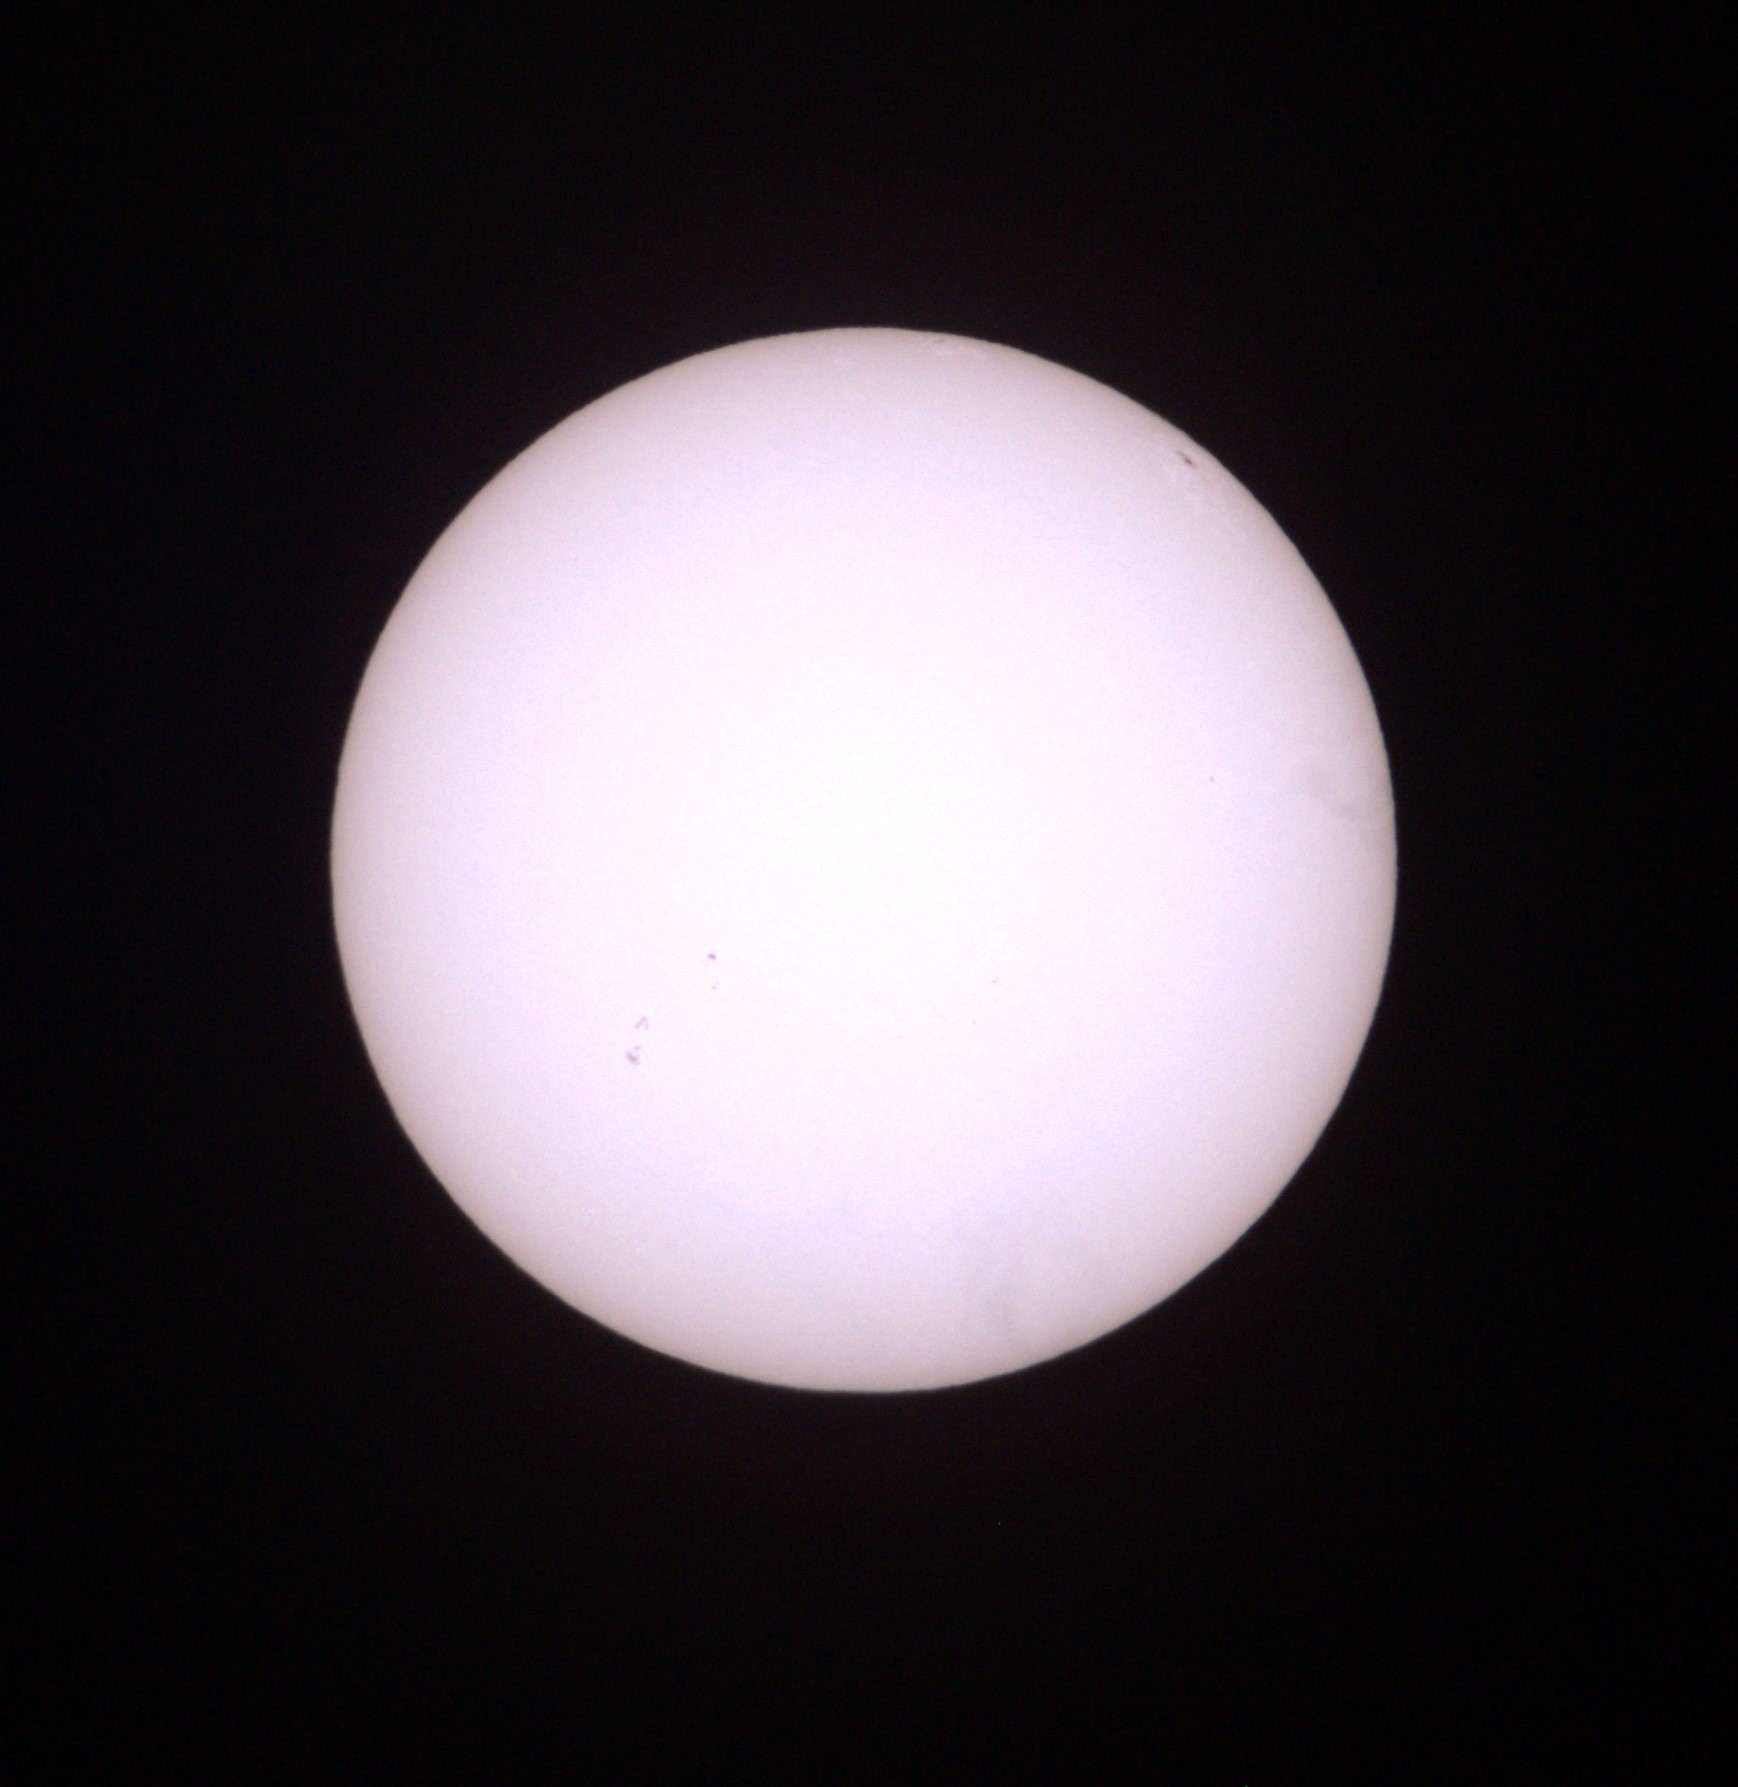
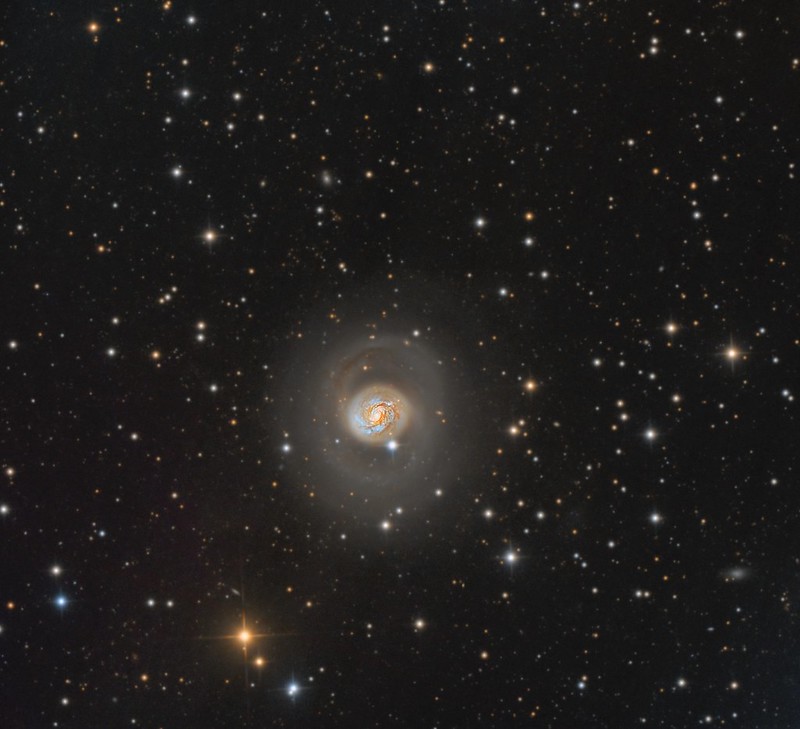
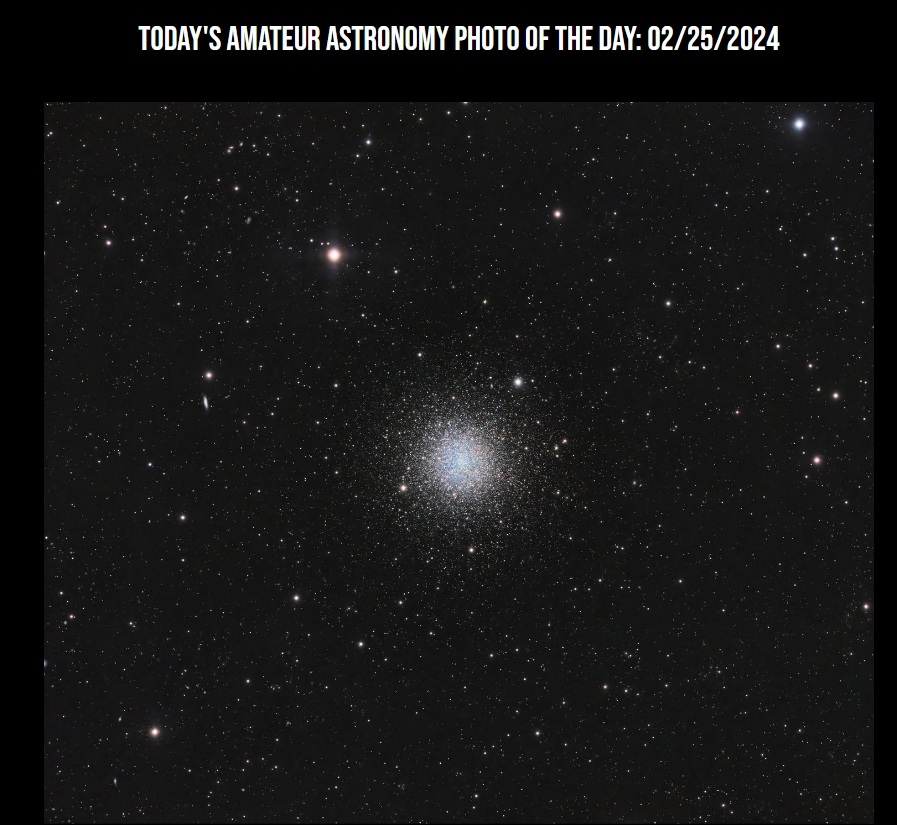
The camera installation project took 3 days and 3 nights to complete but our “first light” image is very encouraging!
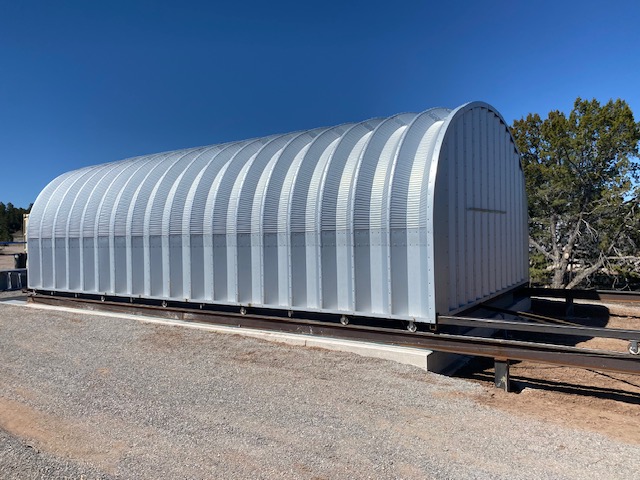
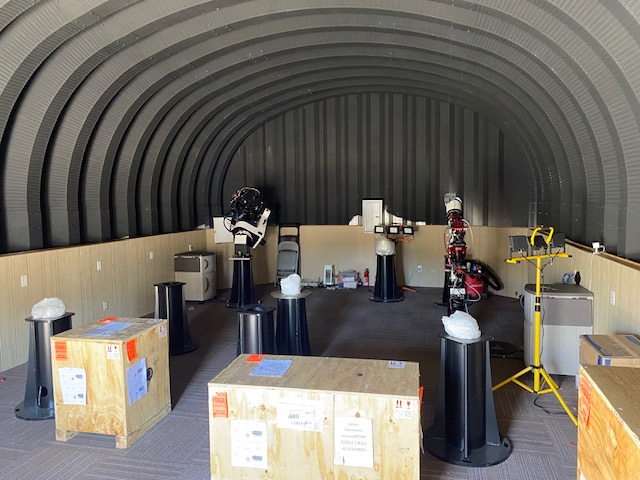
Finally I visited a new observatory complex under construction just “over the hill” from SkyPi. “Howling Coyote Remote Observatories” is yet another telescope hosting facility with identical conditions to SkyPi but on a much bigger scale. Currently there are around 7 telescopes in 2 roll-offs but plans are in the works for around 50 or more piers!
And that sums up my recent service trip to SkyPi Remote Observatory !
Thanks for reading!
DrDave