This was the logical name after I discussed it with my wife and kids. Our physical address after all is “23 Orion’s Belt”. How perfect is that but that IS the address! The development called Stars End was created about 10-12 years ago for astronomy enthusiasts to enjoy the dark skies in the Sacramento Mountains of New Mexico. Street names include Milky Way, Galaxy Point etc.
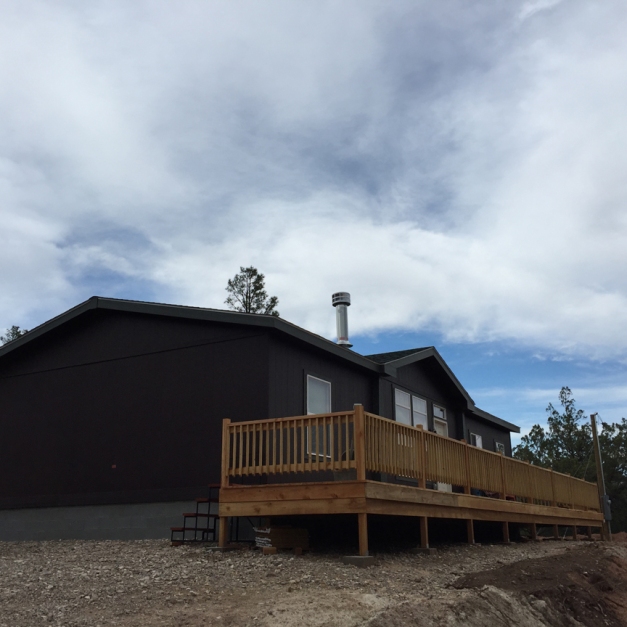
Orion’s Belt Observatory was a unanimous choice. So the project begins! I am also creating a website for the observatory (orionsbeltobservatory.com) so be sure to check periodically for when it goes live. As I mentioned the observatory itself is being built by Backyard Observatories, however we need to build the foundation and piers before they arrive. The popular contractor out here was completely booked until early next year, so I hired 2 guys, Vaughn and Wayne. They did the foundation for our main house as well as our deck and both came out awesome so they got the job. They don’t have a company but they have worked up here in the mountains all their lives. I call them the “Sacramento Mountain Men”. Vaughn is a fellow in his 60’s and looks like the sheriff from that old TV show Mayberry RFD or perhaps Gunsmoke! Wayne could be his deputy. He’s missing a finger or two on his right hand but that doesn’t slow him down a second. Despite their ages they have the energy of a pair of 20 year olds! I honestly don’t know how the 2 of them do it but all I can say is I am glad I found them. At any rate I believe the foundation and site work will be completed way before BYO’s arrival. Currently I am told they are in Florida completing an observatory there and after that they plan to come out here! Until then we wait patiently. Images below detail the construction phases this far. Lots of images. Thanks for reading!
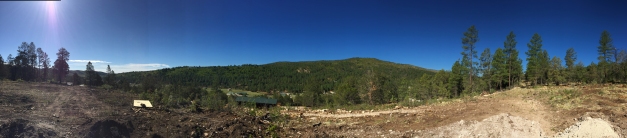
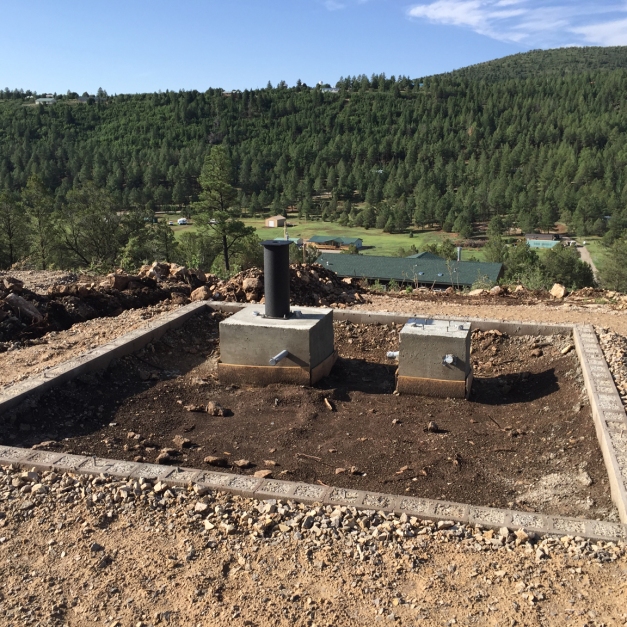
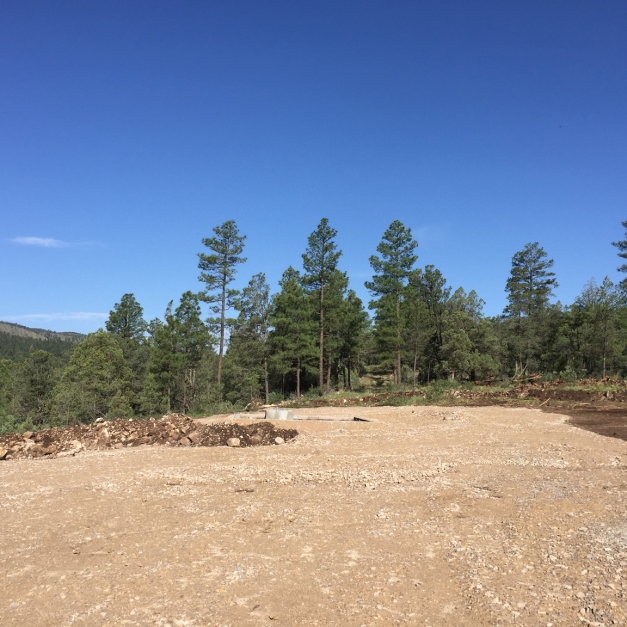
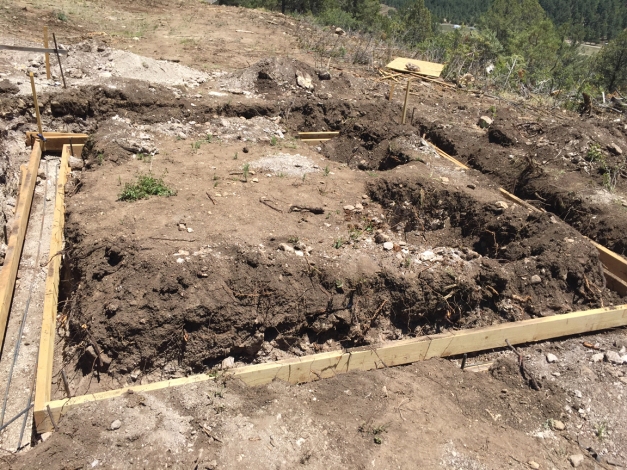
“Mintaka Hill”. Home of the future Orion’s Belt Observatory. At an altitude of 7200 feet in the Sacramento Mountains, some of the best astronomical seeing in North America is right here!

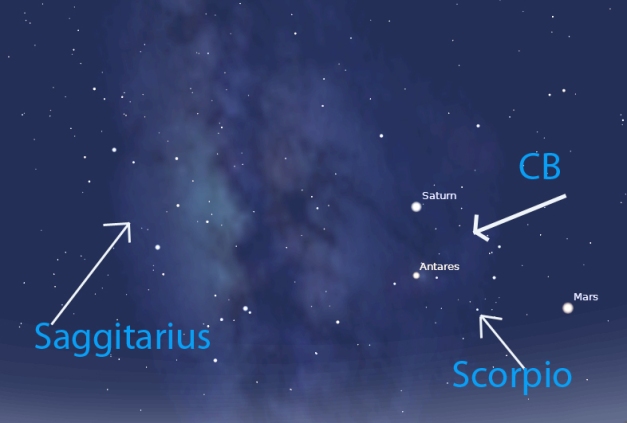
The critical step in preparing the piers for this site is figuring out as closely as possible where true north is. I am using steel piers from Software Bisque which have 4 slightly curved slots at the bottom for J bolts. You do have 5 degrees of play but if you screw up you’re dead because you cannot bolt the pier to the cement base and have your telescope accurately polar aligned! I swear I went out there probably 20 times to get it right. Once I was snorted at by a huge Buck! There are also plenty of Elk that occasionally cruise through but so far I have not seen any bears or mountain lions! Do NOT use a compass folks because there are more magnetic sources than you think. Sighting on the pole star is the best way. I have done this before for other permanent set-ups I have had in the past. I use a modified Theodolite which is a surveying tool that has a 20 power site on it with a calibrated degree altitude and azimuth scale. I align the device so the axis of the sight tube is parallel to the square edges of the top of the pier. Then I tape the base down and raise the sight tube to Polaris. Here it is supposed to be 34 degrees roughly. If I can’t locate it in the sight tube I move the pier to the left or to the right until Polaris is centered. Then the next morning I take a threaded line and stake it so it is parallel to the side edge of the pier. This marks the official North South line so I can then create a template for the pier base and align it the same way so the template is parallel to the North South line! Hope that makes sense.

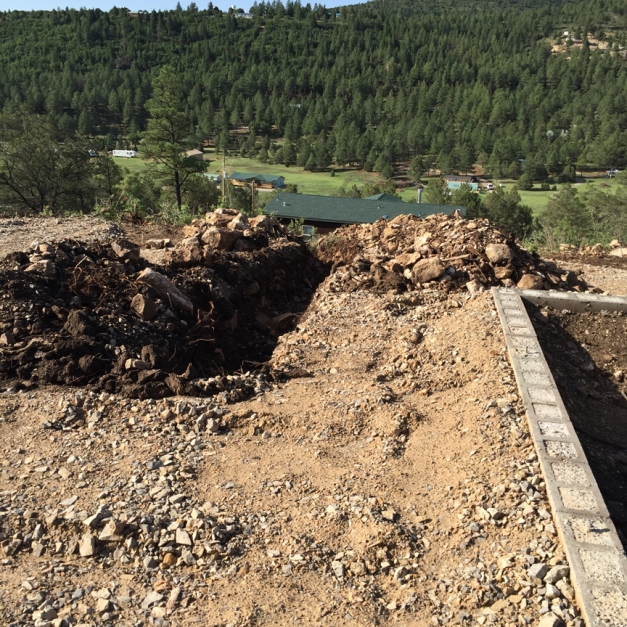
Here you can see the staked line that runs parallel to the edge of the pier. This is the North- South line

This is another way to check true north-south orientation which I found personally difficult to reproduce. At precisely the moment the Sun crosses the meridian the shadow casts along the north south line, however the stake must be perfectly vertical which is not that easy to create. Even the slightest angulation throws everything off. The small arrow points to the shadow cast at precisely 1:03 MDT when the Sun hit the meridian. The large arrow points to the north-south line as determined by Polaris sighting. You can see it is close but not exact. Because of the fact I could easily change the shadow orientation quite a bit with even the slightest change in position of the stake, I abandoned that method entirely
We now create the template for the pier base. You can see the slots there. We center each bolt. They measure 1/2 inch by 12 inches. The plywood square is just larger than the actual cement pier form so it can lie on the form exactly in the orientation desired.
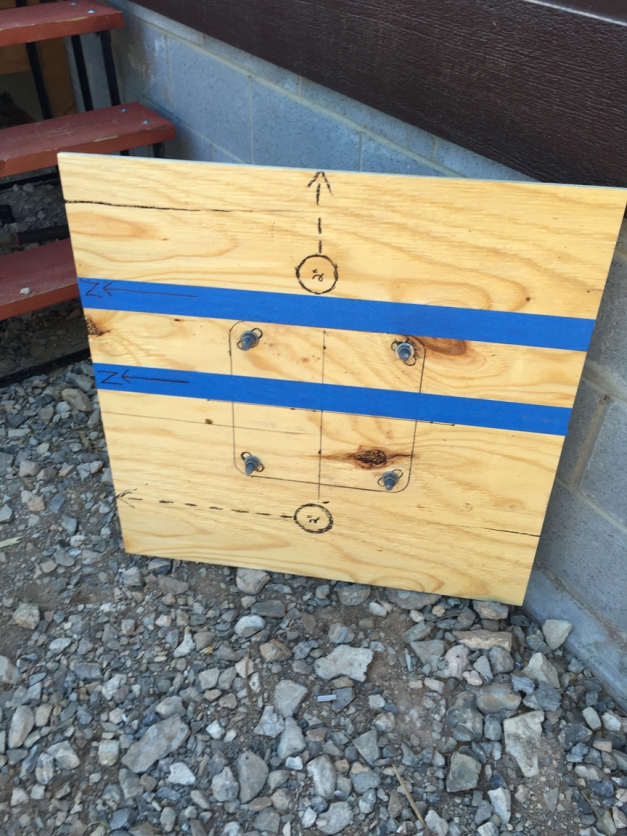
Template created for the pier bolts. The blue tape is indicating the North South line. The circles with arrows are the conduits that are embedded in the piers for both data and electrical
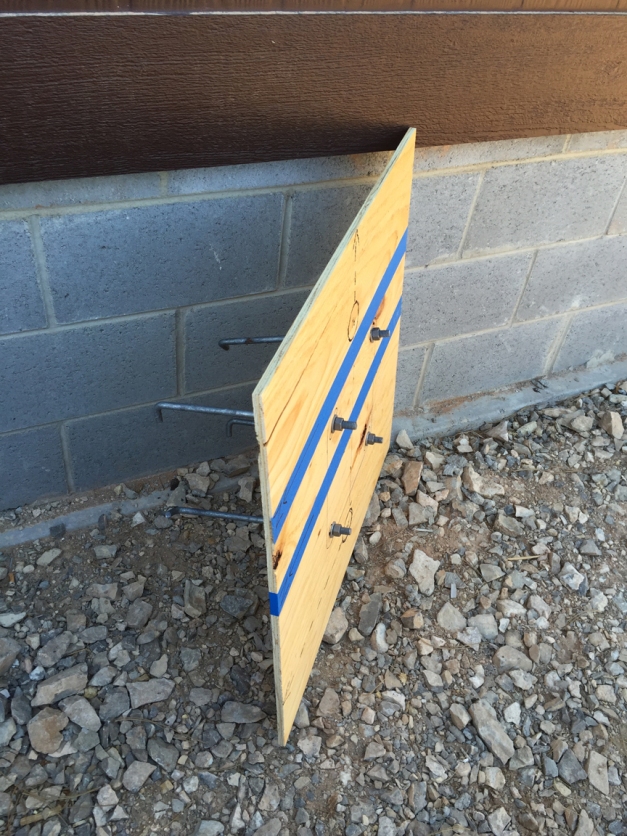
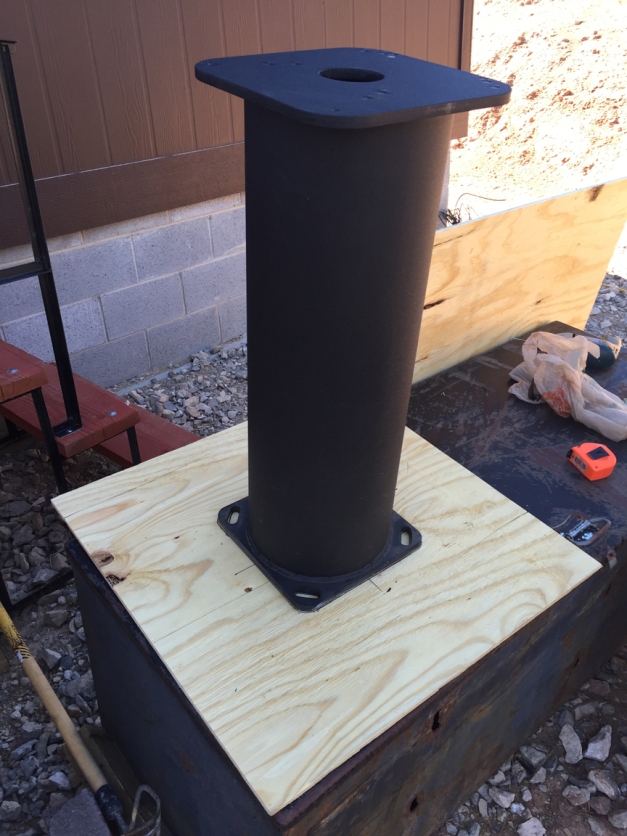
Side view of the template. You can see how far down the bolts will go!
Forms are created for the cinder block foundation. The 2 square holes are for the cement piers.
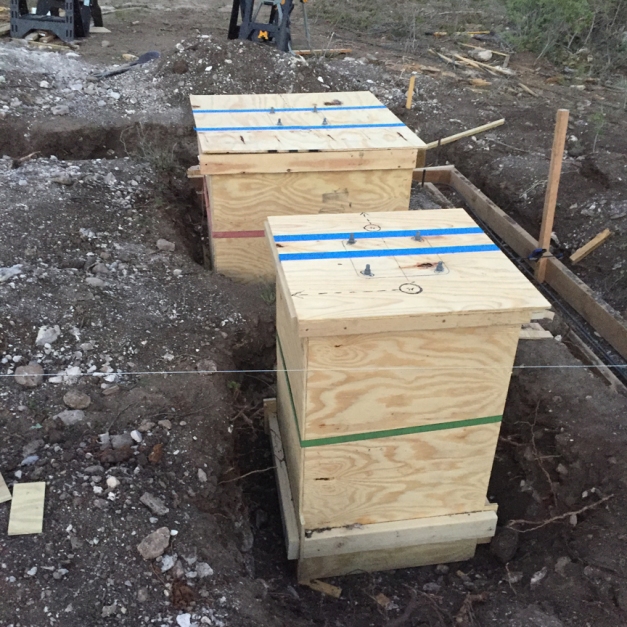
Forms are built for the square piers. One pier is 3 foot square. This is for the larger equipment payload most likely a 16″ reflector . The smaller 2 foot pier will support my 5″ Tak refractor or a medium sized astrograph
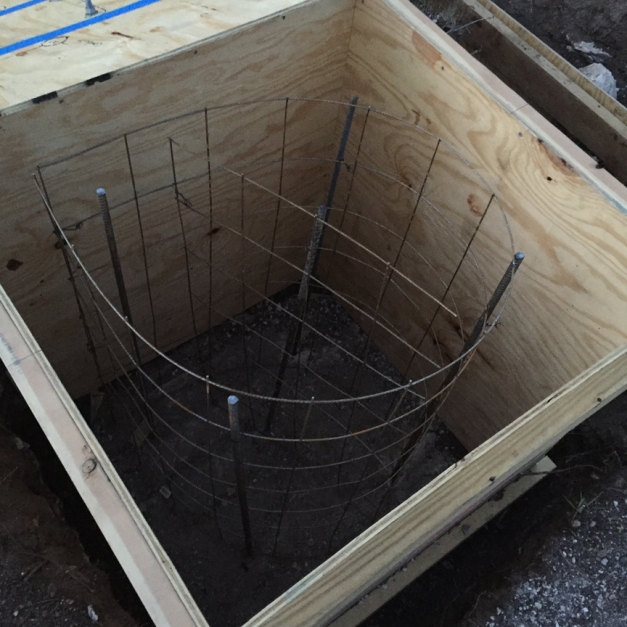
Inside the form for the pier is rebar drilled into the bedrock which is 2+ feet down. This isn’t going anywhere unless there is an earthquake!