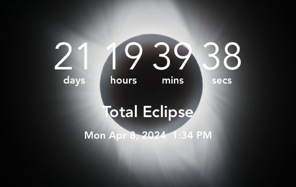
And so we continue our total eclipse preparations! Now about 3 weeks out, but for me a few days less because we are leaving actually on the 4th of April, visitng friends down in Texas for a couple days before heading to the observing site on the 6th.
That being the case, we are really going to have to have everything dialed in prior to April 4th which is at least my official deployment day!
Today we started getting into some serious equipment work. As some of you may recall, I discovered the Celestron AVX control board failed sometime since the last total eclipse in 2017. We had to go manual for the annular eclipse last October (see “ring of fire” post) and that worked fine for that event but for a total eclipse there are so many things happening you do not want to fuss with moving the RA axis of the mount every 20 seconds or so.
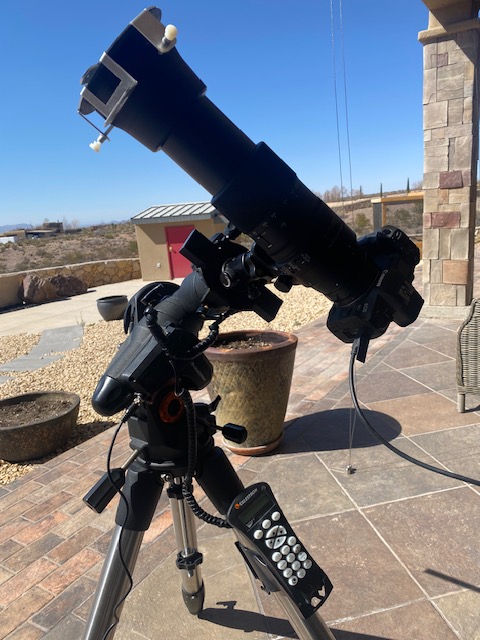
Immediately after the October eclipse I shipped the mount back to Celestron and they successfully updated the control board! I tested the mount shown above and we are able to align perfectly fine on the sun after setting the time and location (you have to enable the sun as an object in the handpad because all of these mounts have built in sun pointing restrictions . Manufacturers don’t want anyone looking at the sun with no protection!)
I was able to confirm accurate pointing and tracking. Slewing the camera to the Sun was close enough to where the projected image of the Sun on the filter was close to the target and in the camera, the Sun was at least in the field of view! This is huge because now we can focus efforts on exposure timing etc without having to worry about the Sun leaving the field.
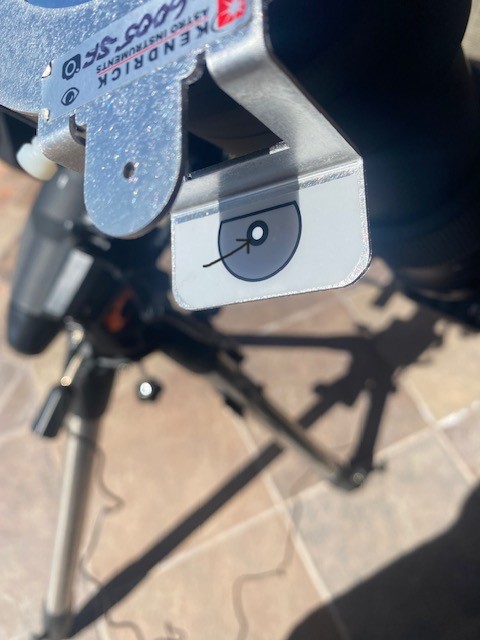
The projected white dot of the Sun easily falls somewhere on the metal plate, then it is a simple matter to center it inside the target with the handpad (black arrow).
I should point out that prior to turning on the mount I did a very rough daytime polar alignment just using a smartphone compass and making an altitude adjustment using the calibrated scale on the mount. Even with this crude, hardly accurate method the tracking was quite good! I plan to fine tune this at the observing site, hopefully aligning on Polaris the night or 2 before.
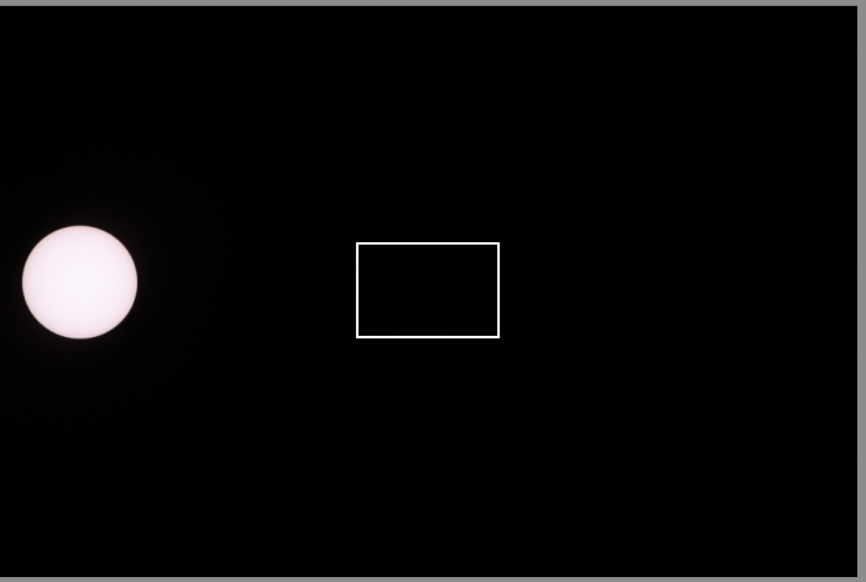
Centering the Sun projection on the filter yields this position of the Sun in the camera FOV. This will improve once we get better polar alignment.
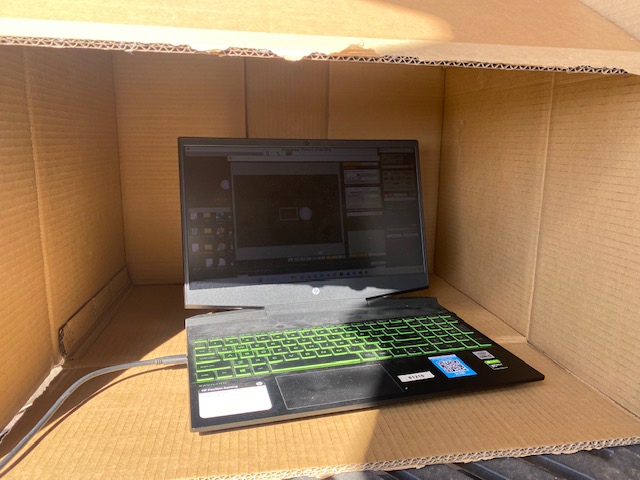
Now honestly I cannot imagine possibly figuring anything out regarding focusing using the camera’s flip screen. Maybe it’s just my age but in the bright sunlight I cannot see a darn thing on that screen! So I have decided to use a laptop placed inside a cardboard box, somewhat shielded from the sunlight so I can focus the camera and center the image. In this test the box was tilted a little more toward the Sun than it will be on eclipse day.
This will be the only purpose of a laptop connection, namely focusing and centering. At the last eclipse I ran the whole thing automated with the laptop connected. This was fantastic for my first go, but as I have learned this approach cannot work for capturing the fleeting events of the beginning of second contact, (diamond ring, Baily’s beads). The program I used basically automated a bracketed exposure sequence which can work for the Corona during totality but you need too many exposures in too short a period to do what we want to do this time.
In addition to testing the mount, we needed to focus and then determine an optimal exposure for the Sun’s disc. I will explain why that is necessary later. I also wanted to see if focus was maintained over a period of time and also if the mount’s tracking would keep the Sun in the field for at least a half hour or so.

At the last eclipse I mentioned I did have trouble with the Canon Eos Utility program crashing after maybe 30 minutes or so of usage but it’s very simple to use and this time I am using it only for focus and centering so that will only take a few minutes. Once that is done I should not have to connect the camera again (hopefully!). Here you can see it’s easy to identify the shutter speed settings and then use the round black button at the top right to take the exposure.
The reason we need to determine the best exposure for the Sun’s disc is that 2-3 stops faster will be what you will need for Diamond rings etc.
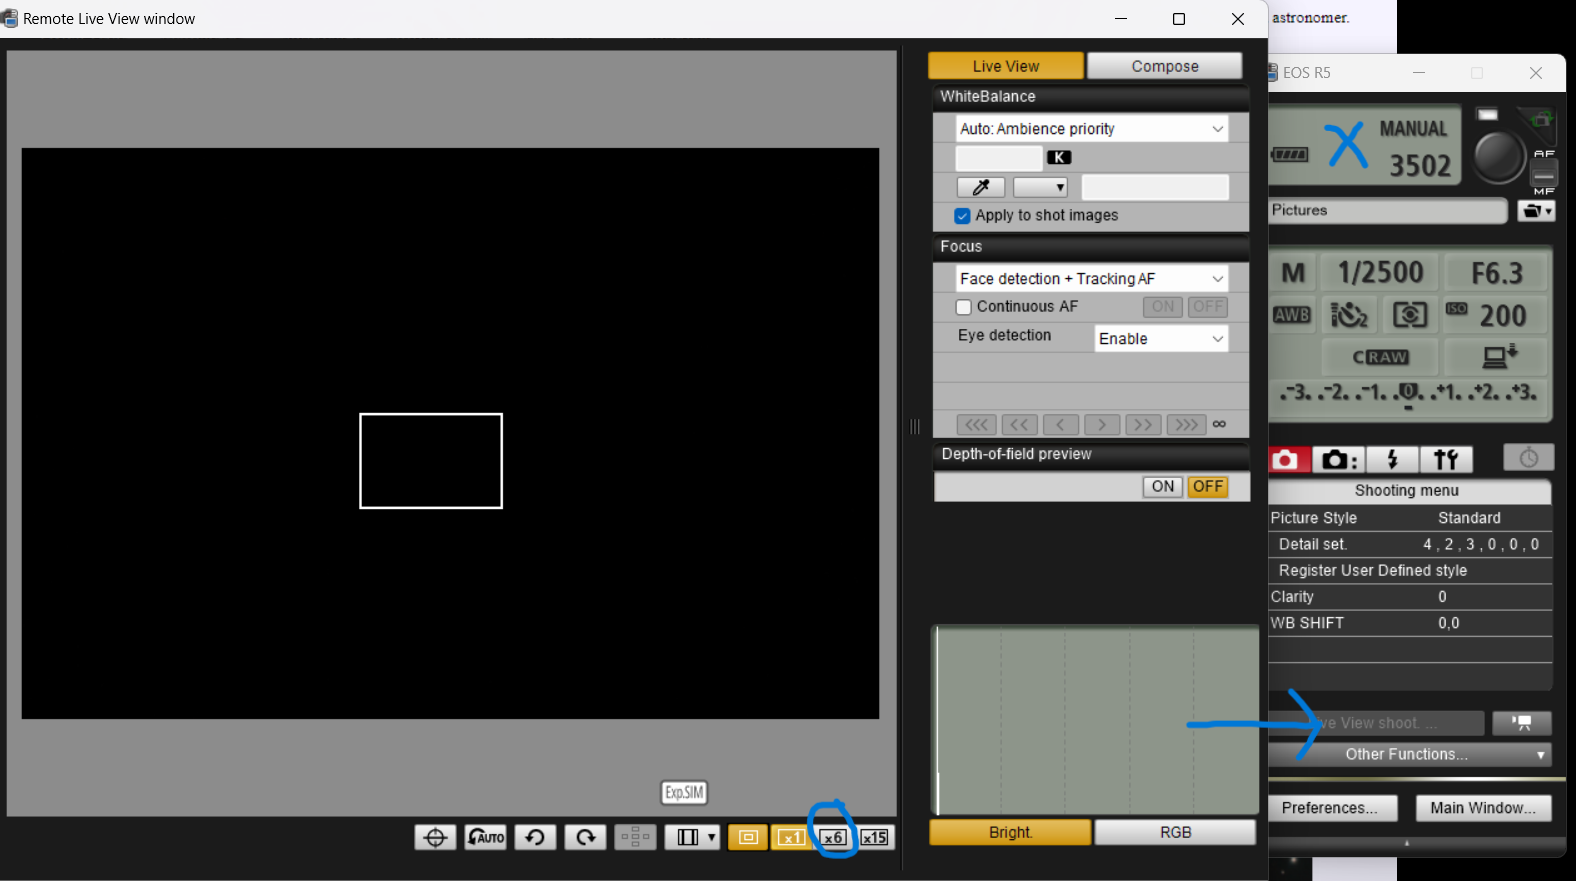
For focusing use the “Live View Shoot” mode (blue arrow). Click on the ‘x6’ magnification button. If you get a “Busy” error message in the top screen (blue ‘X’) just close out of live view and reopen, then click on the x6 button again. I thought 6 times mag was totally sufficient. Things are already bouncing around like crazy so any more I think would be a bit much. Focus on a sunspot group (we have an active solar period now!), but if you don’t have that to look at focus on the Sun’s edge.
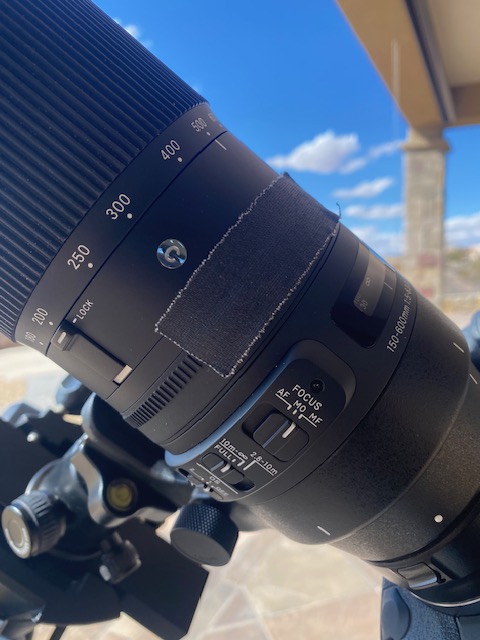
Once you have achieved focus, put a piece of tape on the focus ring. Use Gaffers tape if you can get it. It’s used in the construction field: a light weight cotton-like material that is perfect for optical gear. It will not leave any residue on your equipment and is very easy to remove and also re-usable many times.
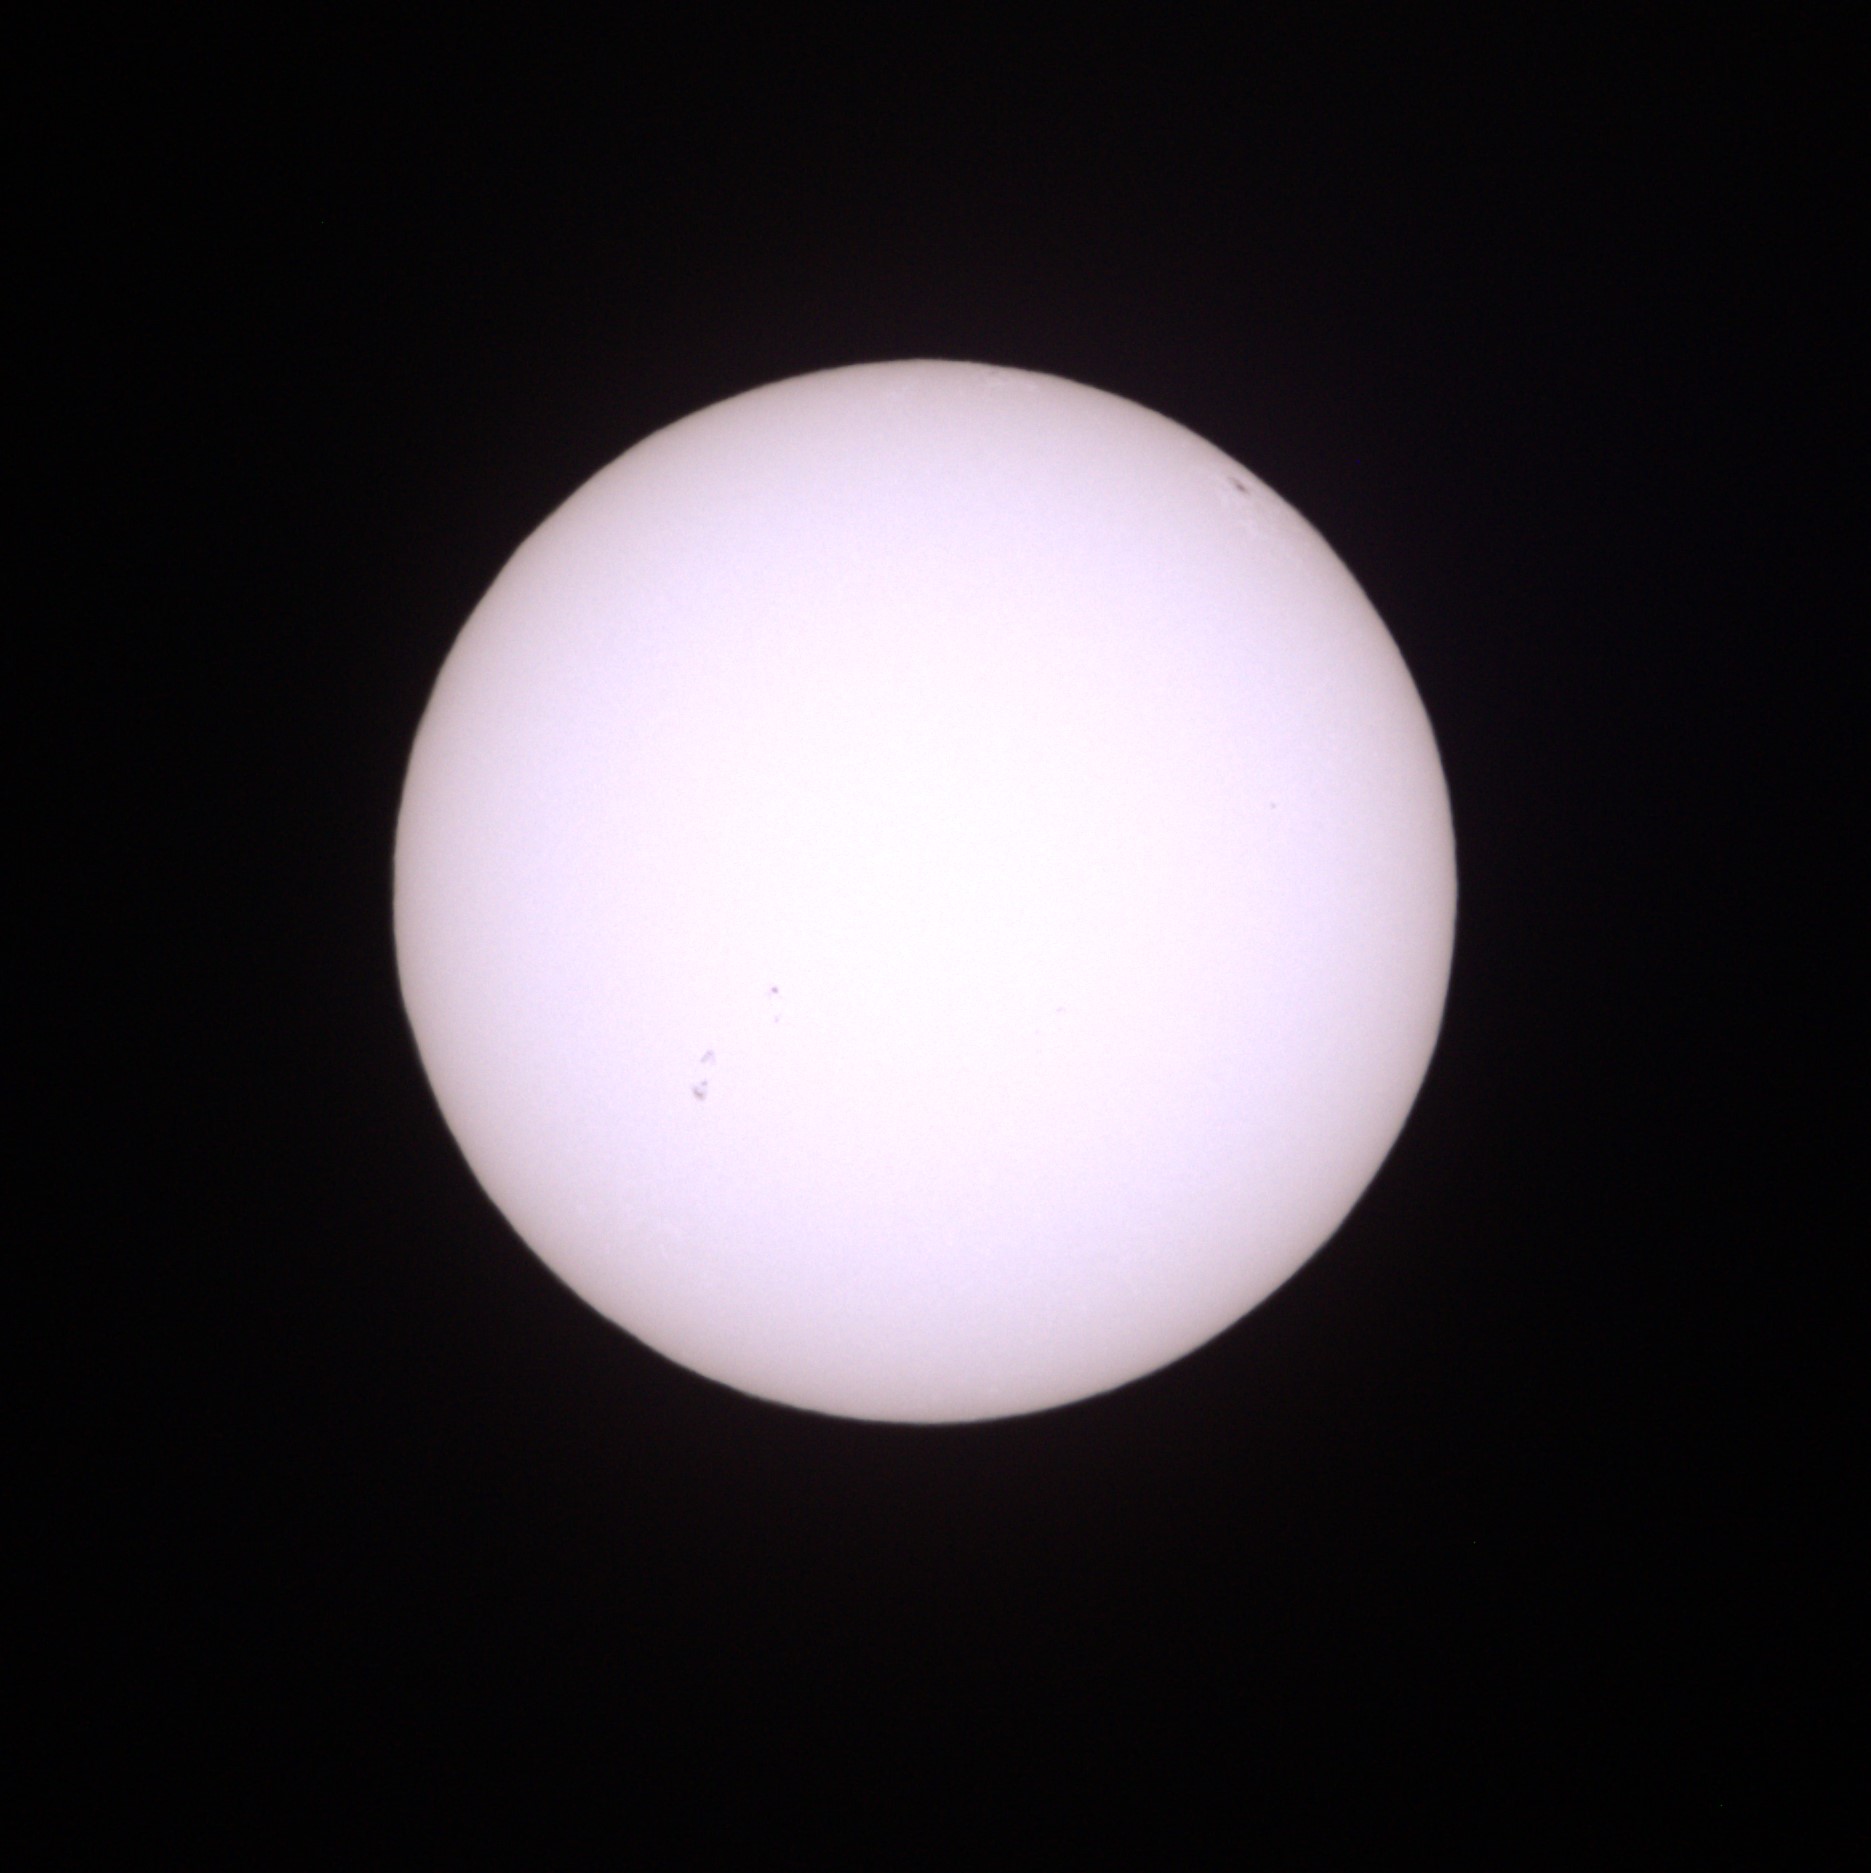
This is 1/2000 sec ISO 200 F6.3, 500mm FL. I used 600mm at the last eclipse and figured I’d back off just a tad to enable capturing of the full corona. This image is cropped so you can see the sunspot groups better.
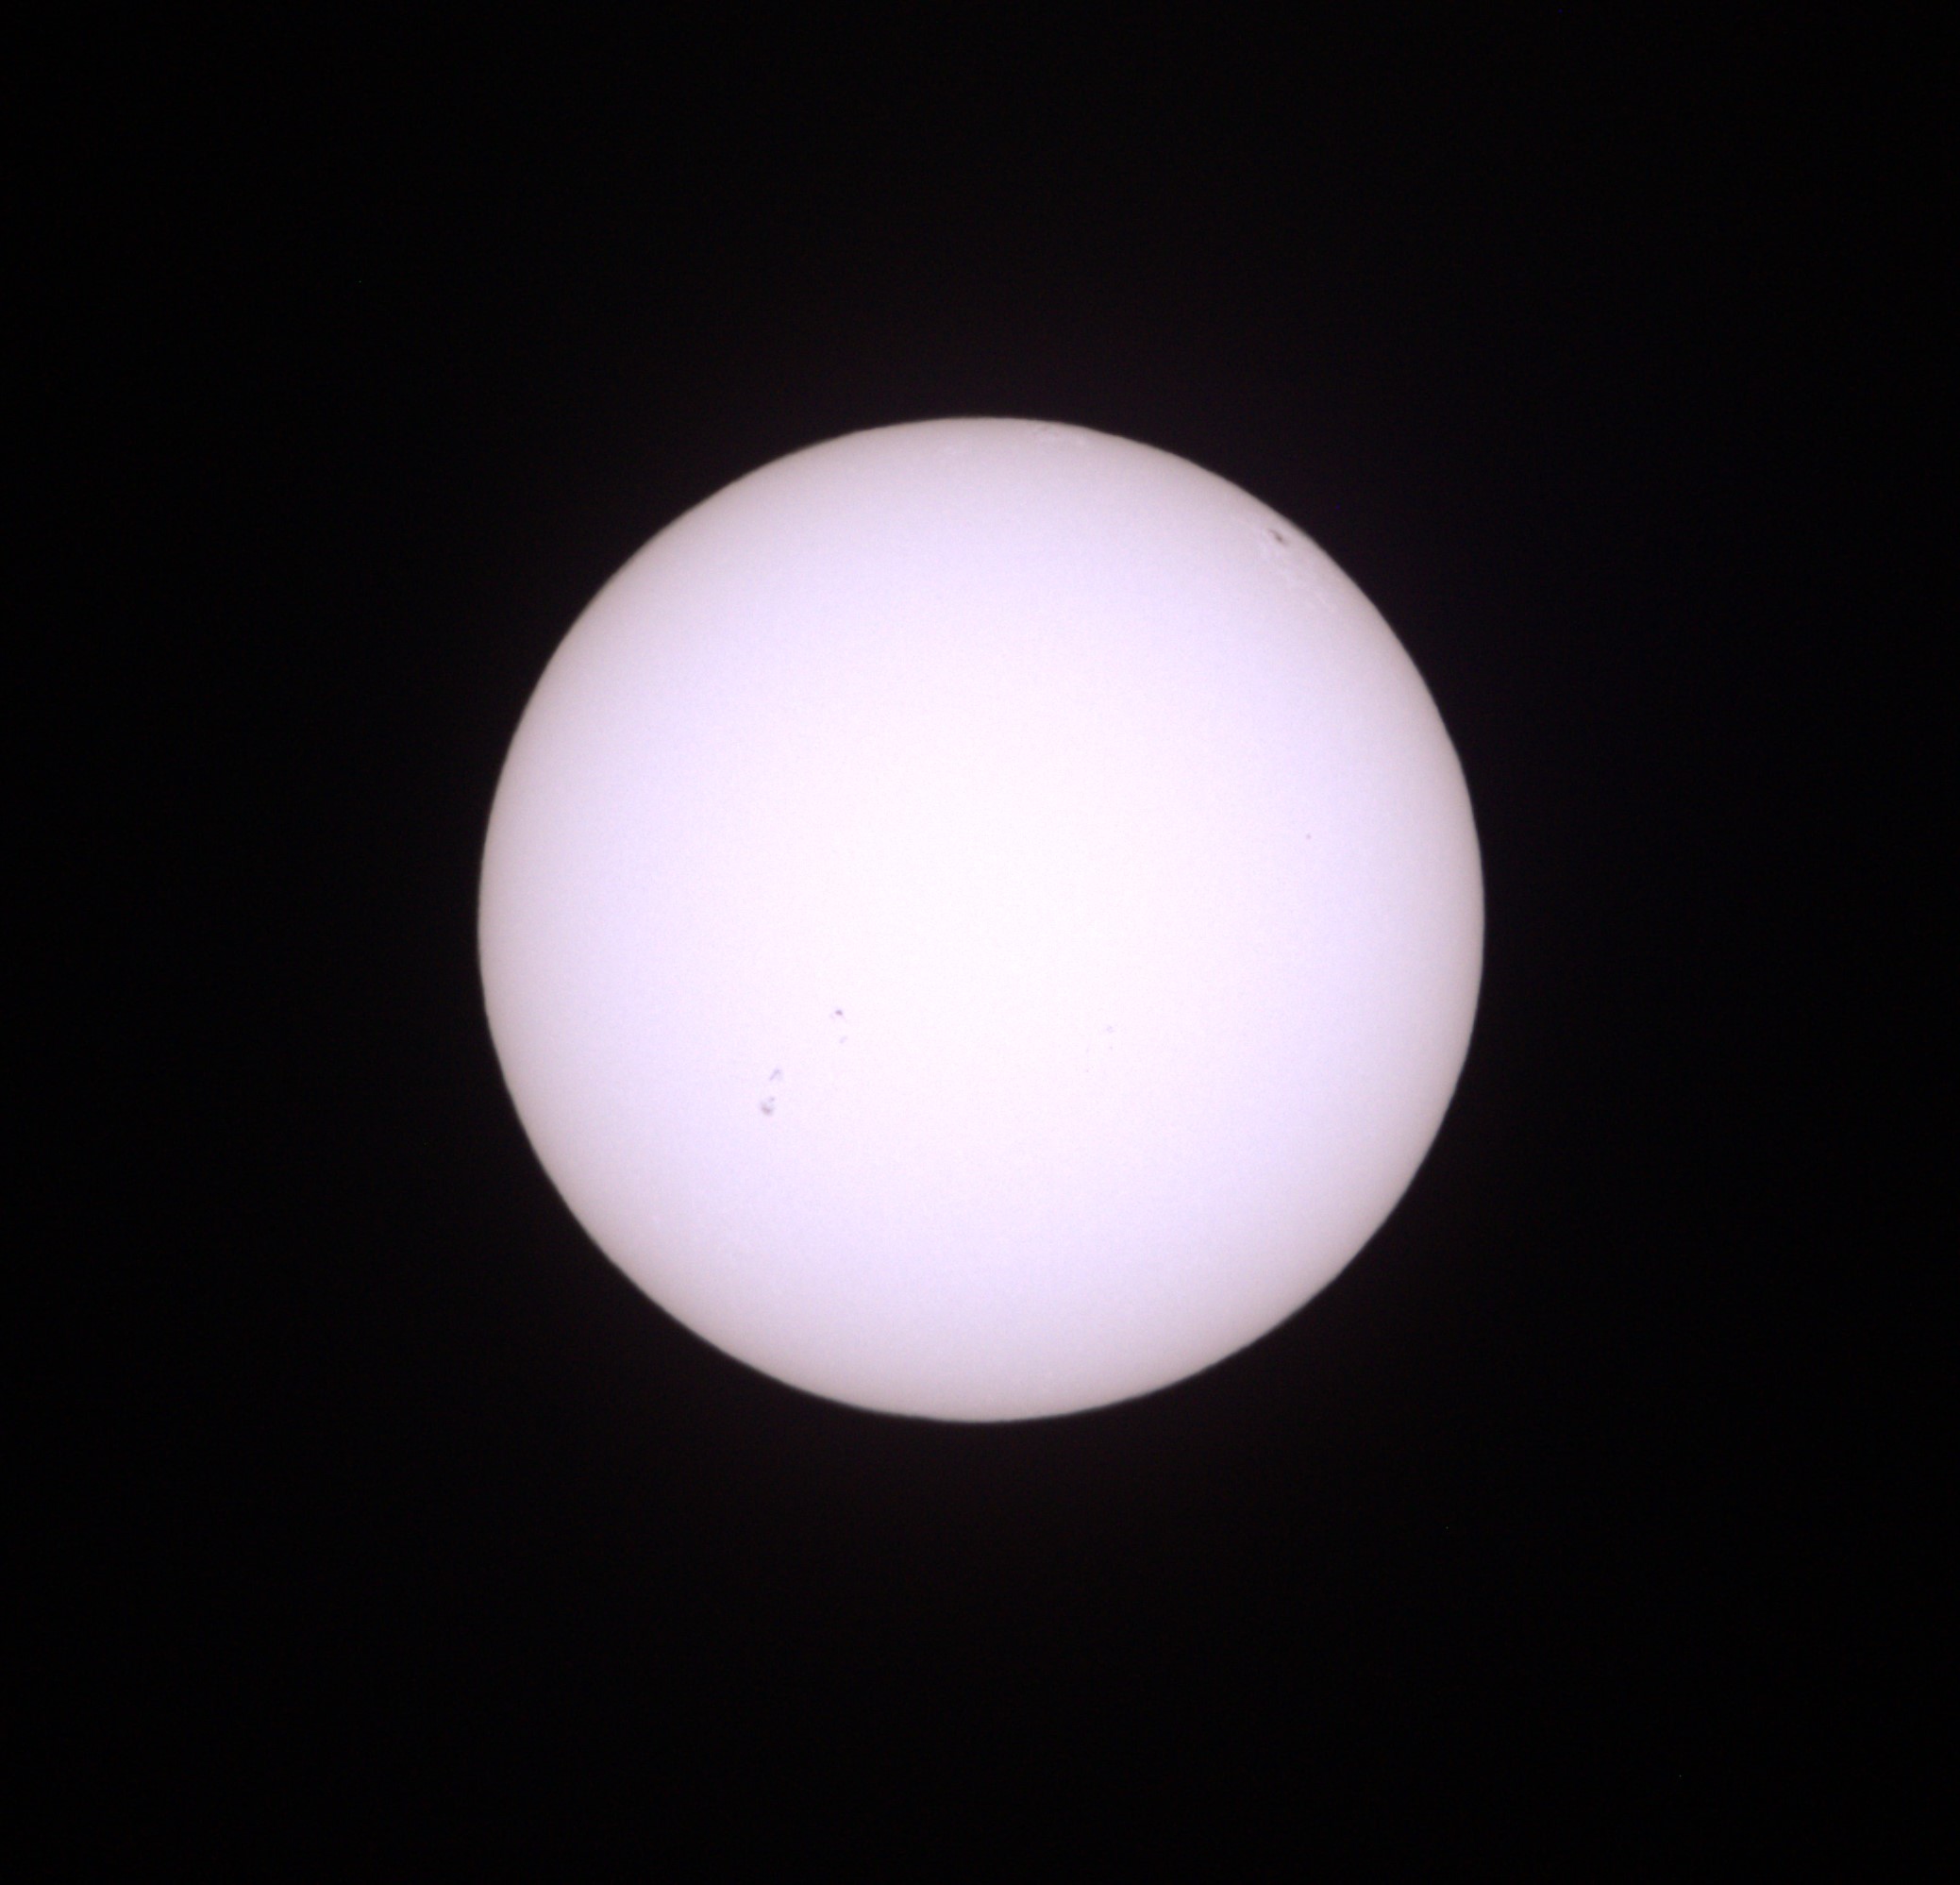
This is 1/2500 sec. I tested exposures from 1/200 all the way up to 1/5000. The color with this kind of filter is very white with kind of central blush in there almost greenish so it might be a little more challenging to assess the correct exposure, but 1/2000 to 2500 looks about right.
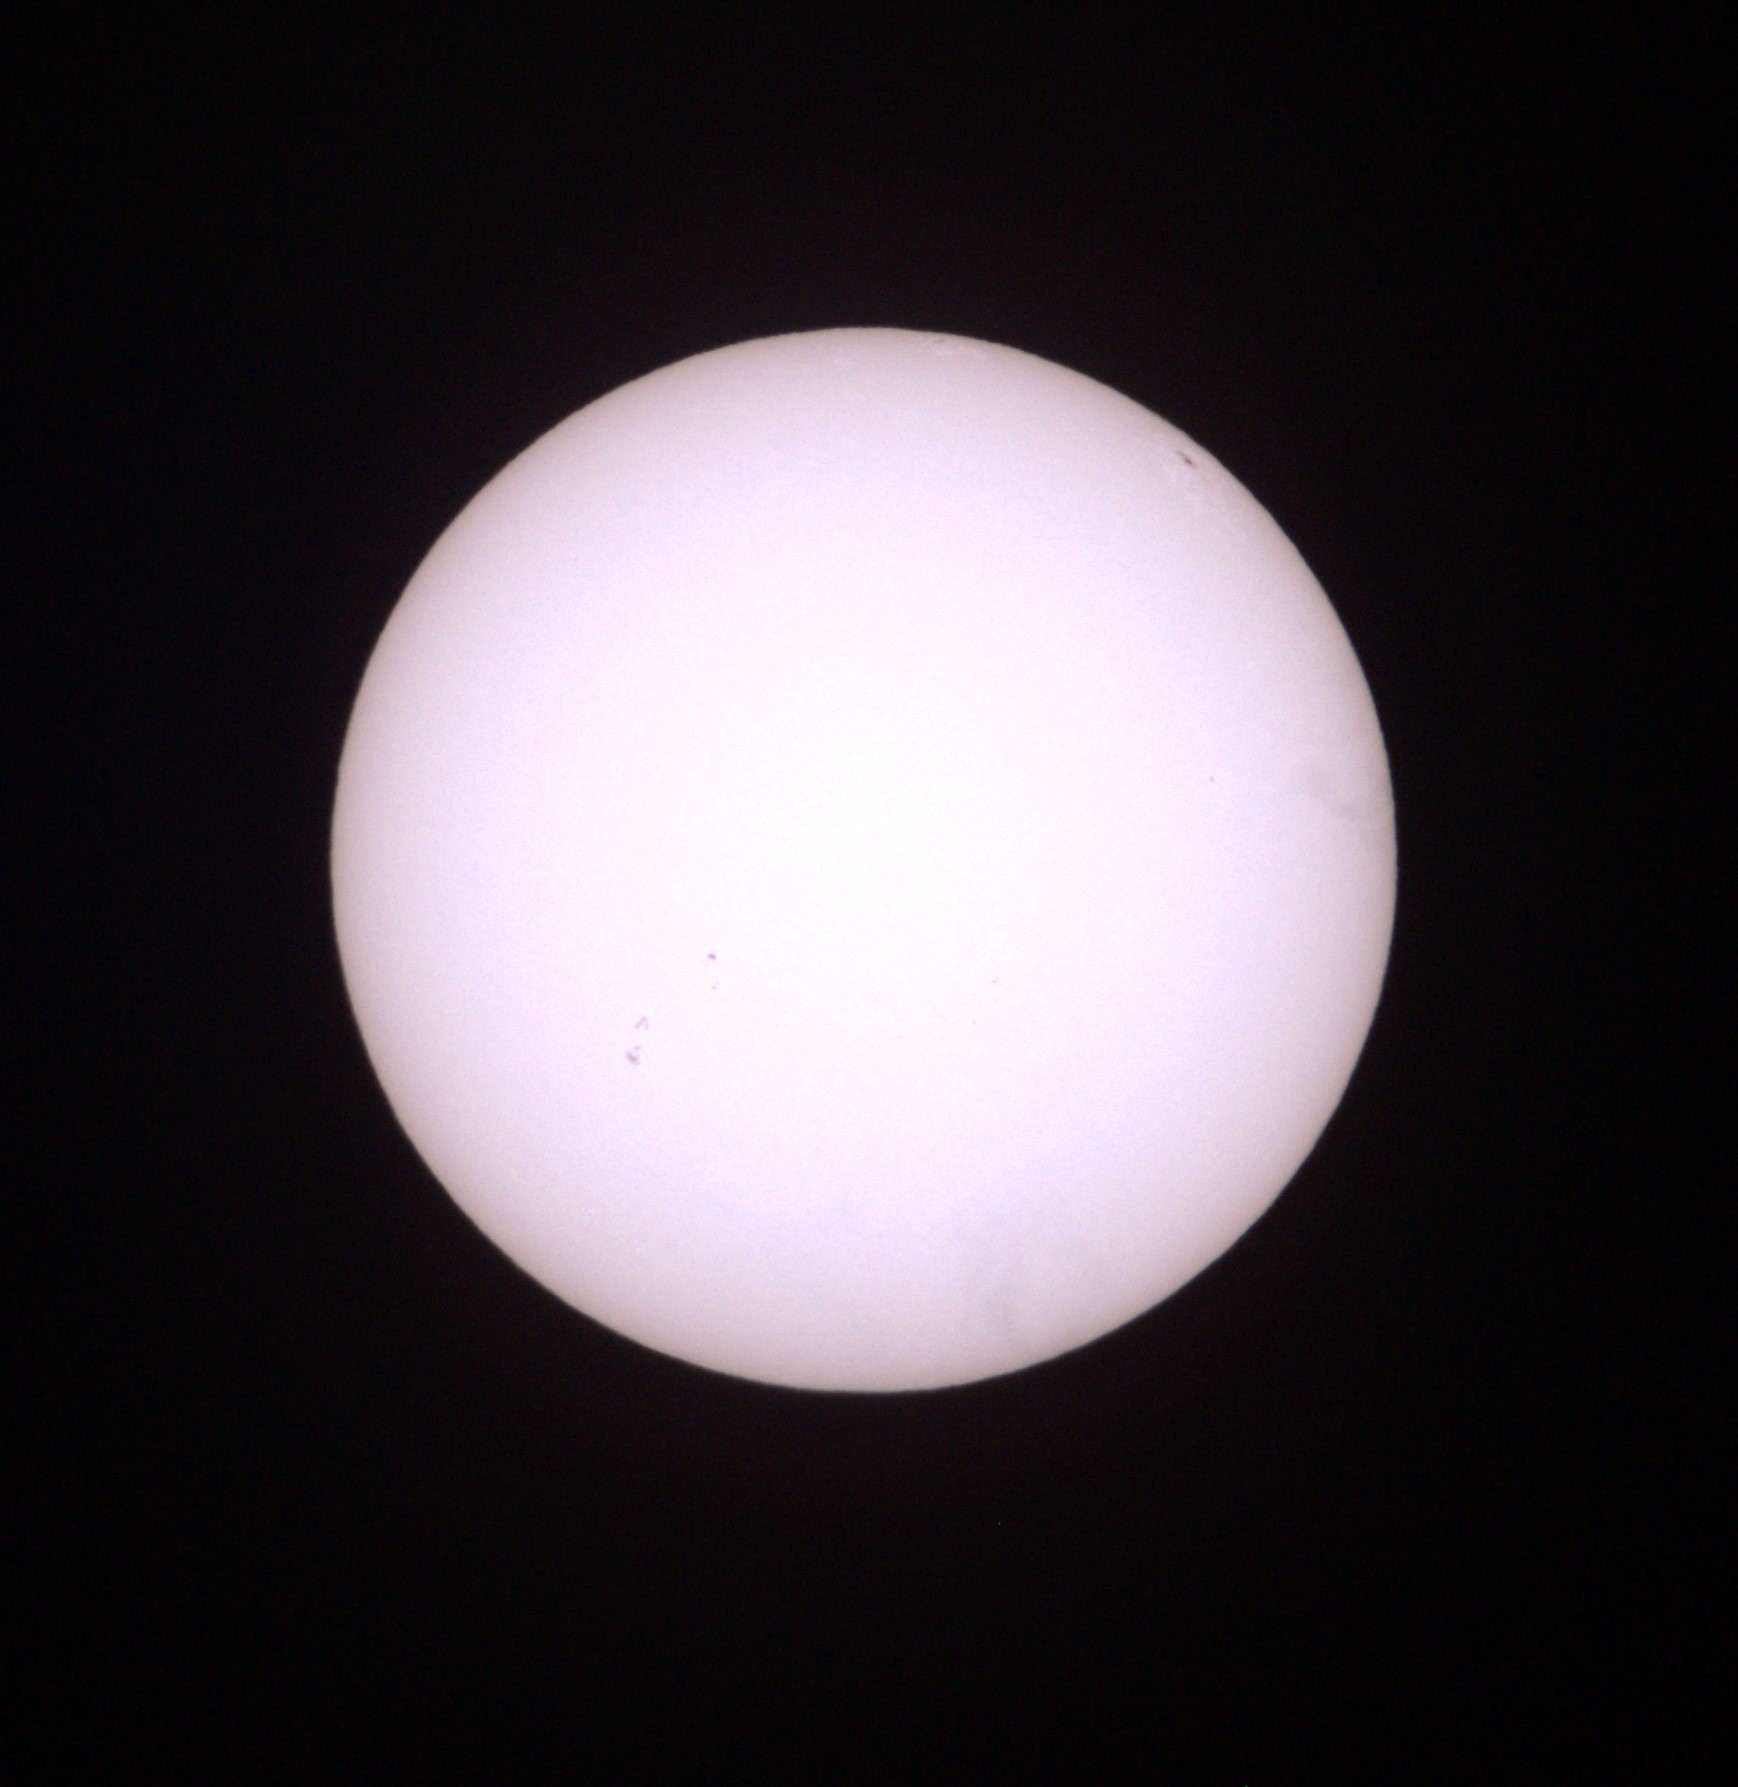
I then waited nearly a half hour and repeated a 1/2500 shot to see if focus was maintained. Looks like it is the same. It’s a challenge manually focusing a long telephoto but I think it’s just about there. We will have many chances to improve on it if that’s possible.
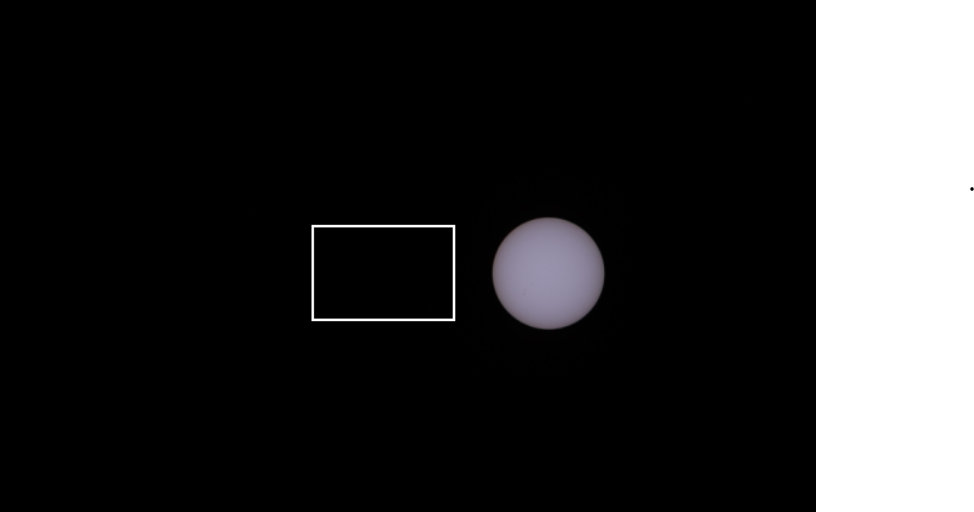
This is the actual full frame image scale uncropped so you can imagine that with the Sun centered there should be no problem capturing the full corona. This was the position after 30 minutes from when I had centered it so that’s still pretty good despite the very rough polar alignment!
So let’s assume 1/2000 is our disc exposure. We’re looking at probably around 1/4000 for Diamond ring etc.
Next up we need to test high speed continuous shooting with an intervalometer!
Thanks for reading!
DrDave


