I remember the first time I saw the Orion nebula with a 5 sec modified webcam exposure. That was 10 years ago and I was totally blown away. Then came taking a long exposure guided image about 7 years ago. Now we come to a fully automated imaging session! I am not really a big fan of sitting in your living room and say logging on to iTelescope and doing everything so remotely you might as well be playing video games or something. I like being outdoors under a crisp clear night sky and observing for myself the spectacle which is our Universe! There is also the satisfaction that comes with figuring things out when it comes to your equipment. That all has to be balanced out with the need for some sleep at night especially for those of us that still have a day job. I have to realize that as I get older I just can’t stay up like like I used to. Thus the welcome addition of image automation!
For the M1 project I decided to test the automation waters! I had completed an upgrade to a stepper motor focuser which is now working very well with FocusMax and this can easily be done remotely. The mount has always been automation ready. After all it is a Paramount. Really the final piece was a camera rotator. I think this is the most important piece of equipment honestly next to the mount, because for accurate pointing and target acquisition you must be able to precisely rotate your camera. You also must have a screw in camera connection which I also upgraded from my old compression ring set up I had from the newtonian days.
Thankfully Moonlite has produced a rotator in tandem with the DRO (digital read out) stepper motor focuser but it had not been fully tested. Since I have worked closely with Moonlite over the years and figured out their remote focus system for use with a 12 volt motor years ago, Ron Newman over at Moonlite gave me the beta testing assignment for the new rotator! I was more than happy to oblige, especially since the current rotators out there (Optec and Pyxis) are quite a bit more expensive.
The hardware arrived in the usual polished perfection customary for Moonlite. The assembly instructions were very straightforward. The rotator sits comfortably between the drawtube and the OTA. The final step was operation! I was a little confused with how the rotator would be controlled remotely since there was no program like FocusMax for example that worked with it under the ASCOM platform. ASCOM is a whole other topic for another day. Bottom line is the automation programs are able to control it with the ASCOM drivers alone! I won’t try to understand how that’s possible but it is. Trust me on this!
Finally was the decision on what automation application to use. There are several: CCD Commander, ACP, CCD Autopilot and Sequence Generator Pro just to name a few. I settled on CCDAutopilot mainly because the programs I was already using for telescope pointing, camera control and focusing interfaced very well with it and did not require any additional 3rd party drivers (i.e. ASCOM) to make it work. Obviously for something like this, a “less is more” approach is the way to go!
I downloaded the CCDAP trial version and started. I really wasn’t concerned about the pointing control or ability to plate solve since that had worked perfectly fine in the past. The main issue was the rotator. Following the instructions I went through the initialization process and after a couple of error messages, of course related to the rotator, I finally figured out what settings to use in the rotator driver dialog page to get it to work correctly and pass the initialization phase! It was now time to acquire the image!
I loaded M1 into the target section and set up the imaging details. I figured I would just take some luminance images and see if the program could execute a fully automated meridian flip. For German equatorial type mounts, the mount has to rotate around to point to targets on the west side of the meridian once the objects cross from the east side to the west side. This requires camera rotation of 180 degrees. I figured if it could do that it could do pretty much everything! M1 was to cross the meridian at around 11:20 PM. Up to then everything seemed to work fine, but I wasn’t impressed yet since all of the basic pointing and tracking had always been very reliable. Around 11:18 or so the final image in the east was obtained. There was a pause for several seconds. Then the mount rotated around the RA axis to point to the west, refocused, reacquired the target and guide star and started imaging again. I waited on the edge of my seat for the first west side image to appear and ..there it was, perfectly centered and oriented!! We had successfully automated our first session! OK fine, I understand it’s not quite landing on the Moon or putting a vehicle on Mars, but for an aging amateur astronomer it amounts to the same thing!
Since then which was 1 day after Xmas, I actually set up a session where I went to bed, woke up and everything was done! Things seem to be working pretty well although I have noticed occasionally the target does not stay exactly centered. I have contacted CCDWare support and they have given me some troubleshooting steps, but all in all minor stuff. I can definitely say this works and it certainly is great to be around when we can do things like this!

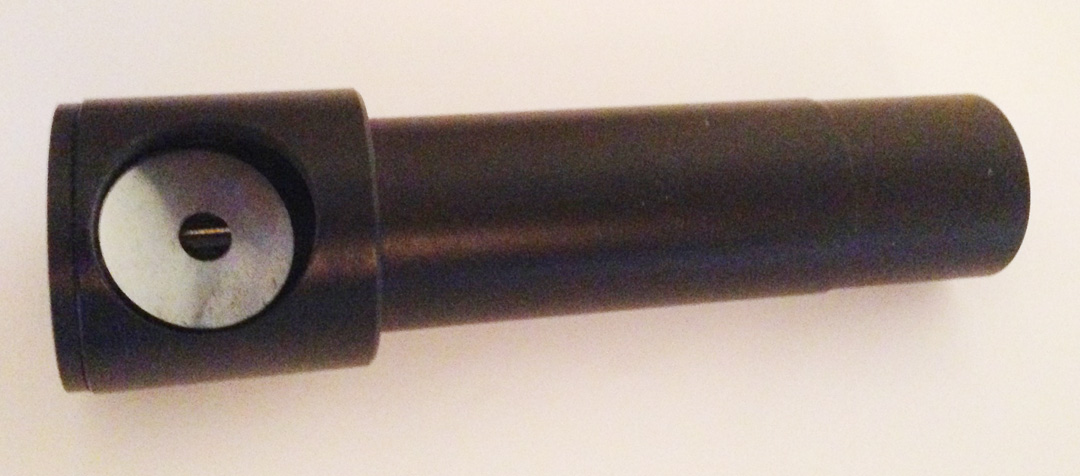
Current set-up showing the new Moonlite DRO focuser and stepper rotator
The above video shows a fully automated meridian flip using the new Moonlite stepper rotator.